Blog

DIY Holiday Pop Up Cards with Da Vinci Eye App

DIY Holiday Pop Up Cards

Here is an easy tutorial on how to make your own DIY Holiday Pop Up Cards using Da Vinci Eye app.

There’s something super special about receiving a handmade Holiday Pop Up Card during the holidays. It’s personal, thoughtful, and stands out from the cookie-cutter options you usually find in stores. But if the idea of drawing intricate designs sounds scary—Da Vinci Eye is here to help.

Our app essentially transforms your phone into an art projector, making it easy to trace any design onto any surface. Whether you’re a seasoned artist or just looking for a way to make holiday crafts more fun, Da Vinci Eye can take your holiday pop-up cards to the next level.

What you’ll need:

Tutorial Video on how to make DIY Holiday Pop Up Cards


The holidays are the perfect time to get creative and make something special for the people you care about. Our DIY Holiday Pop-up cards are super fun to make, and they show just how much effort you put in. But drawing those designs by hand? That can be hard. Don’t worry—Da Vinci Eye is here to make it way easier!


Why you should use Da Vinci Eye app to make Holiday pop up cards:

1. Trace Cool Designs Without Stress
Ever tried drawing something super detailed, like a snowflake or a holiday tree? It’s tough! With Da Vinci Eye, you can virtually project the design right onto your card and trace it. It’s like having a secret art tool that makes everything look professional.

2. Use Your Own Pictures
You can trace your own pictures, like a photo of your family, your pet, or anything else you love. It’s a great way to make a card that’s completely customized.

3. Fun for the Whole Family
Everyone can pick their own design to trace, and you can all make something fun together. Even little kids can join in!

4. Super Easy and Cheap
You don’t need fancy tools or supplies. Just your phone, paper, and a pencil and colored pencils, and you’re ready to go. You don’t even to have a. pro subscription to the app. There are hundreds of images and stencils to draw that are totally free to use!

Ready to Try It?

This holiday season, make DIY holiday pop-up cards that are fun, creative, and special. Download Da Vinci Eye and start tracing your way to awesome cards today. Your friends and family will love them!
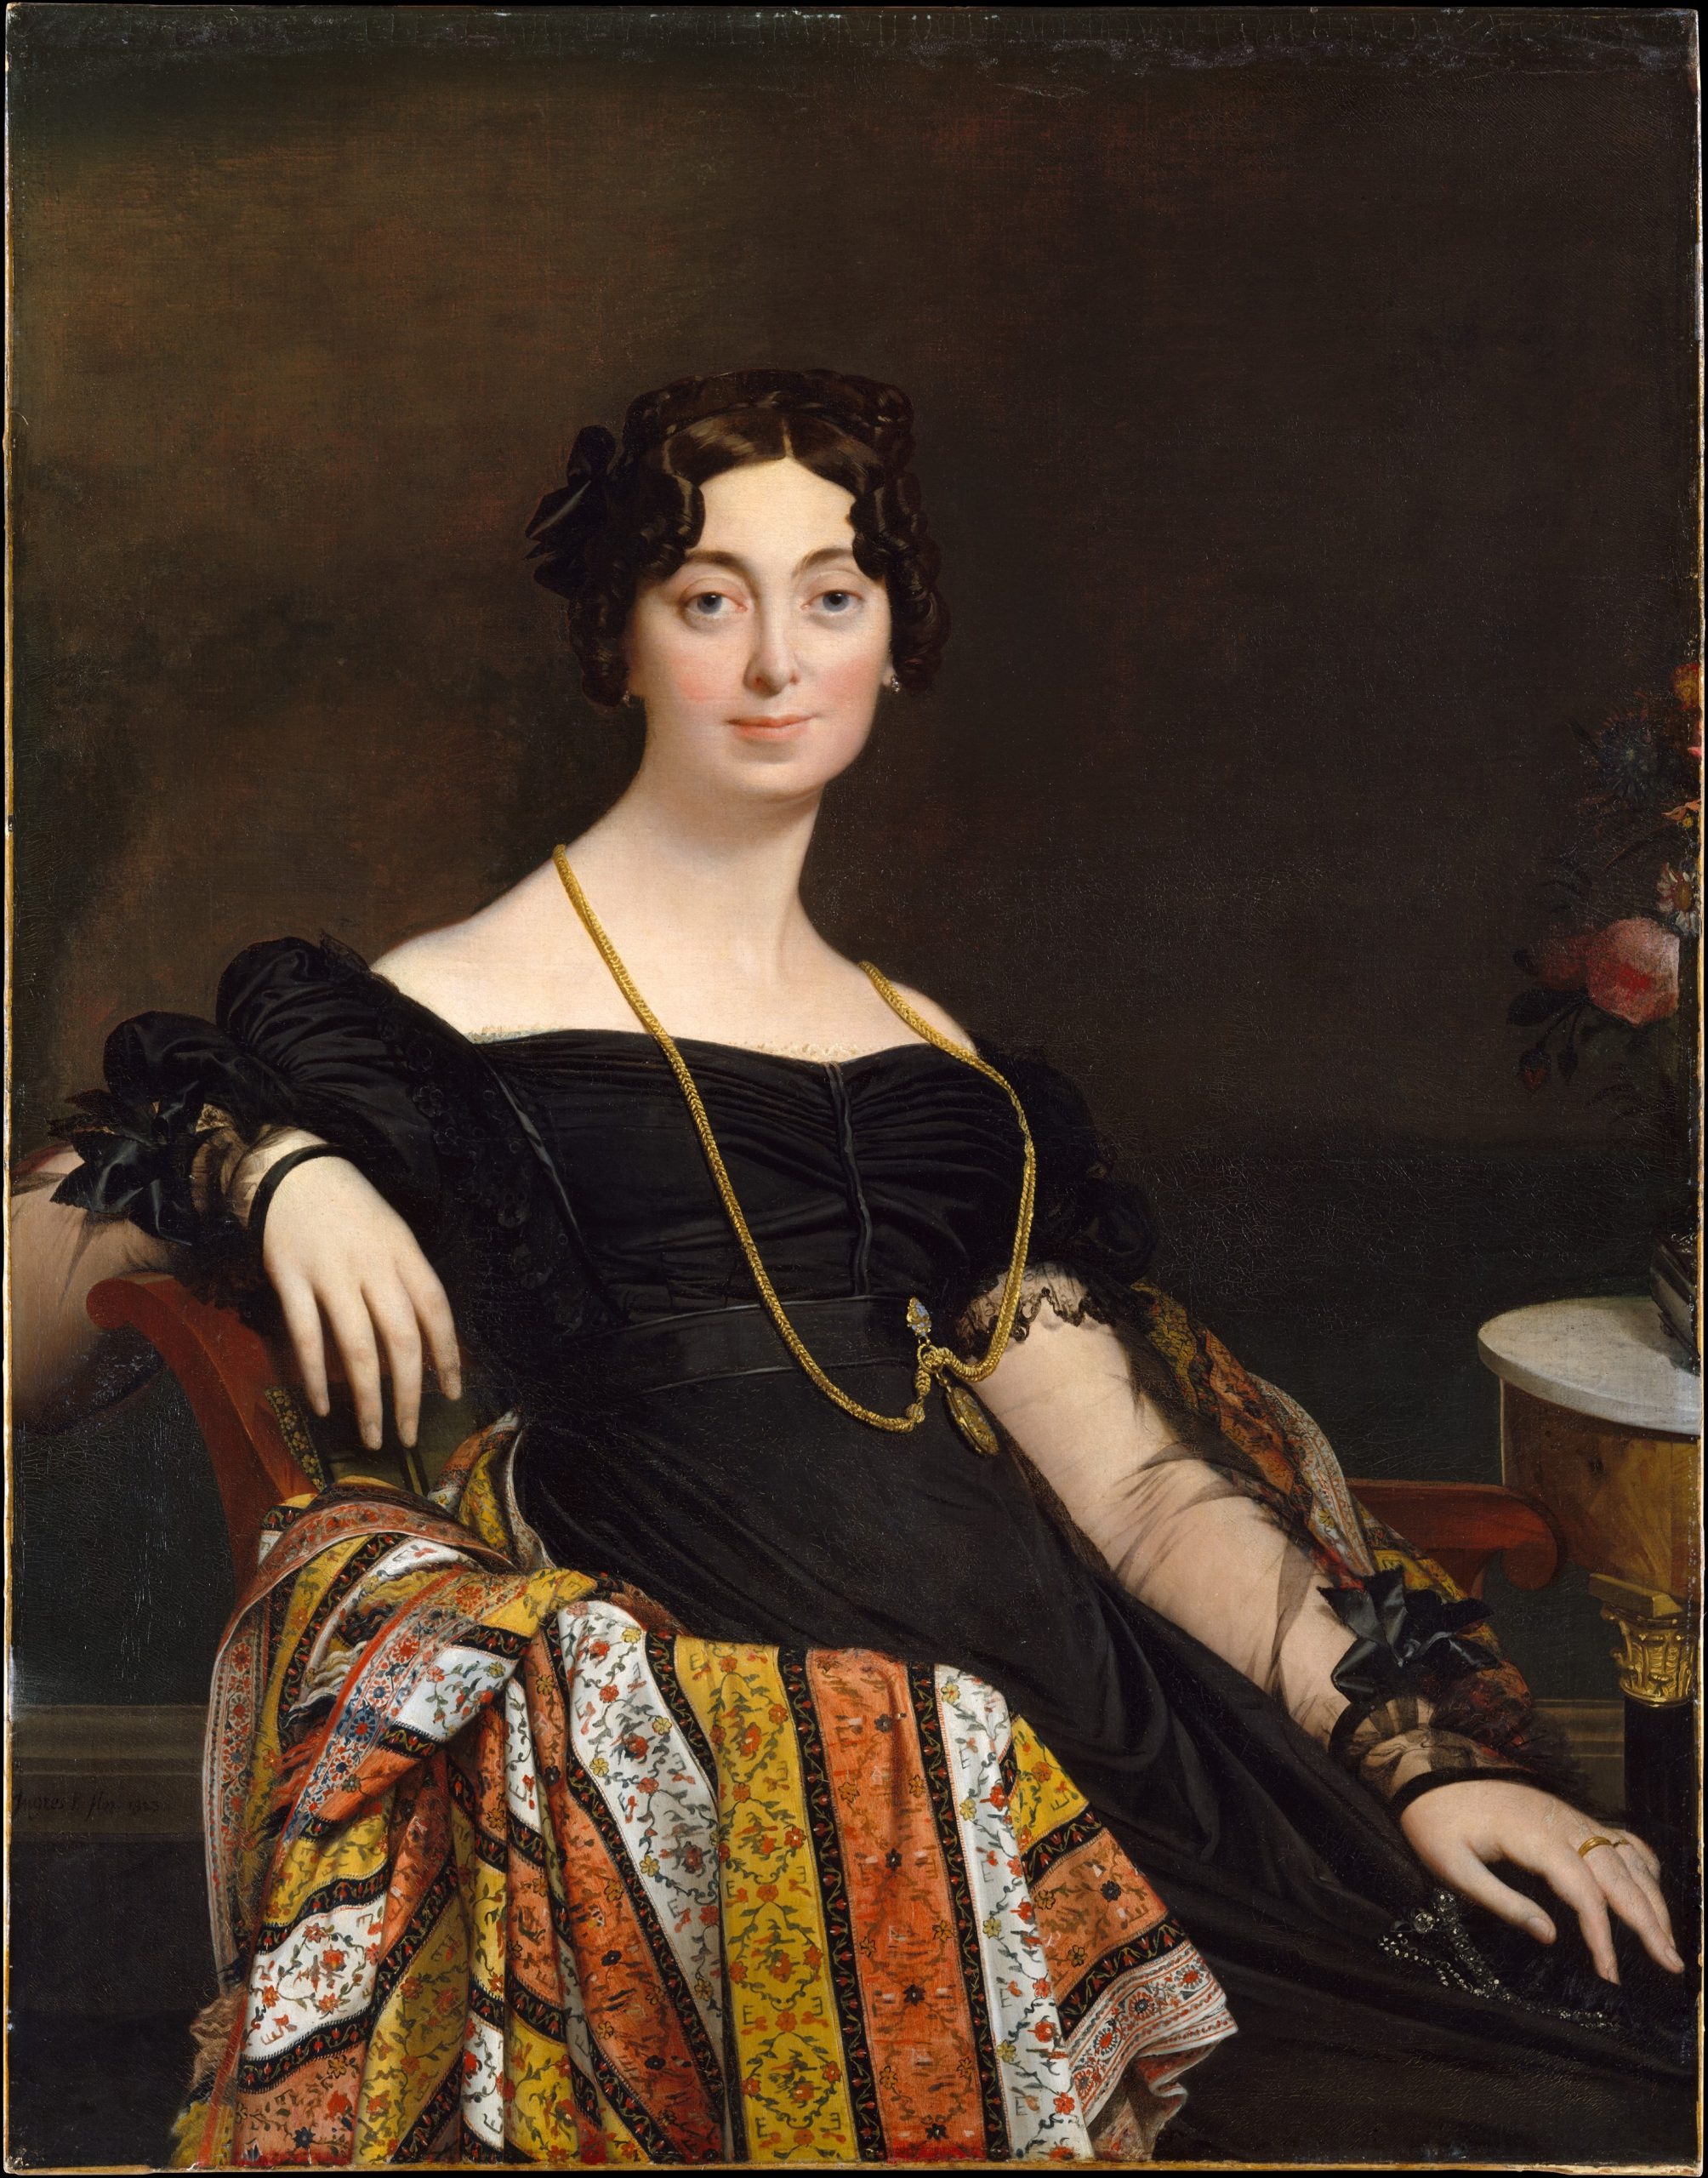
Portrait of Madame Jacques-Louis Leblanc by Ingres (1823)

Master of the Month: Jean-Auguste-Dominique Ingres

One of the richest sources of inspiration is the deep well of art that has been created throughout history. In recognition of how much these works have to teach, we at Da Vinci Eye are proud to present the Master of the Month series of events. Each month, we will feature an artist, style, or subject from which to draw inspiration and gain insight. This month, use Da Vinci Eye to explore the phenomenal work of Ingres.

Master of the Month: Ingres

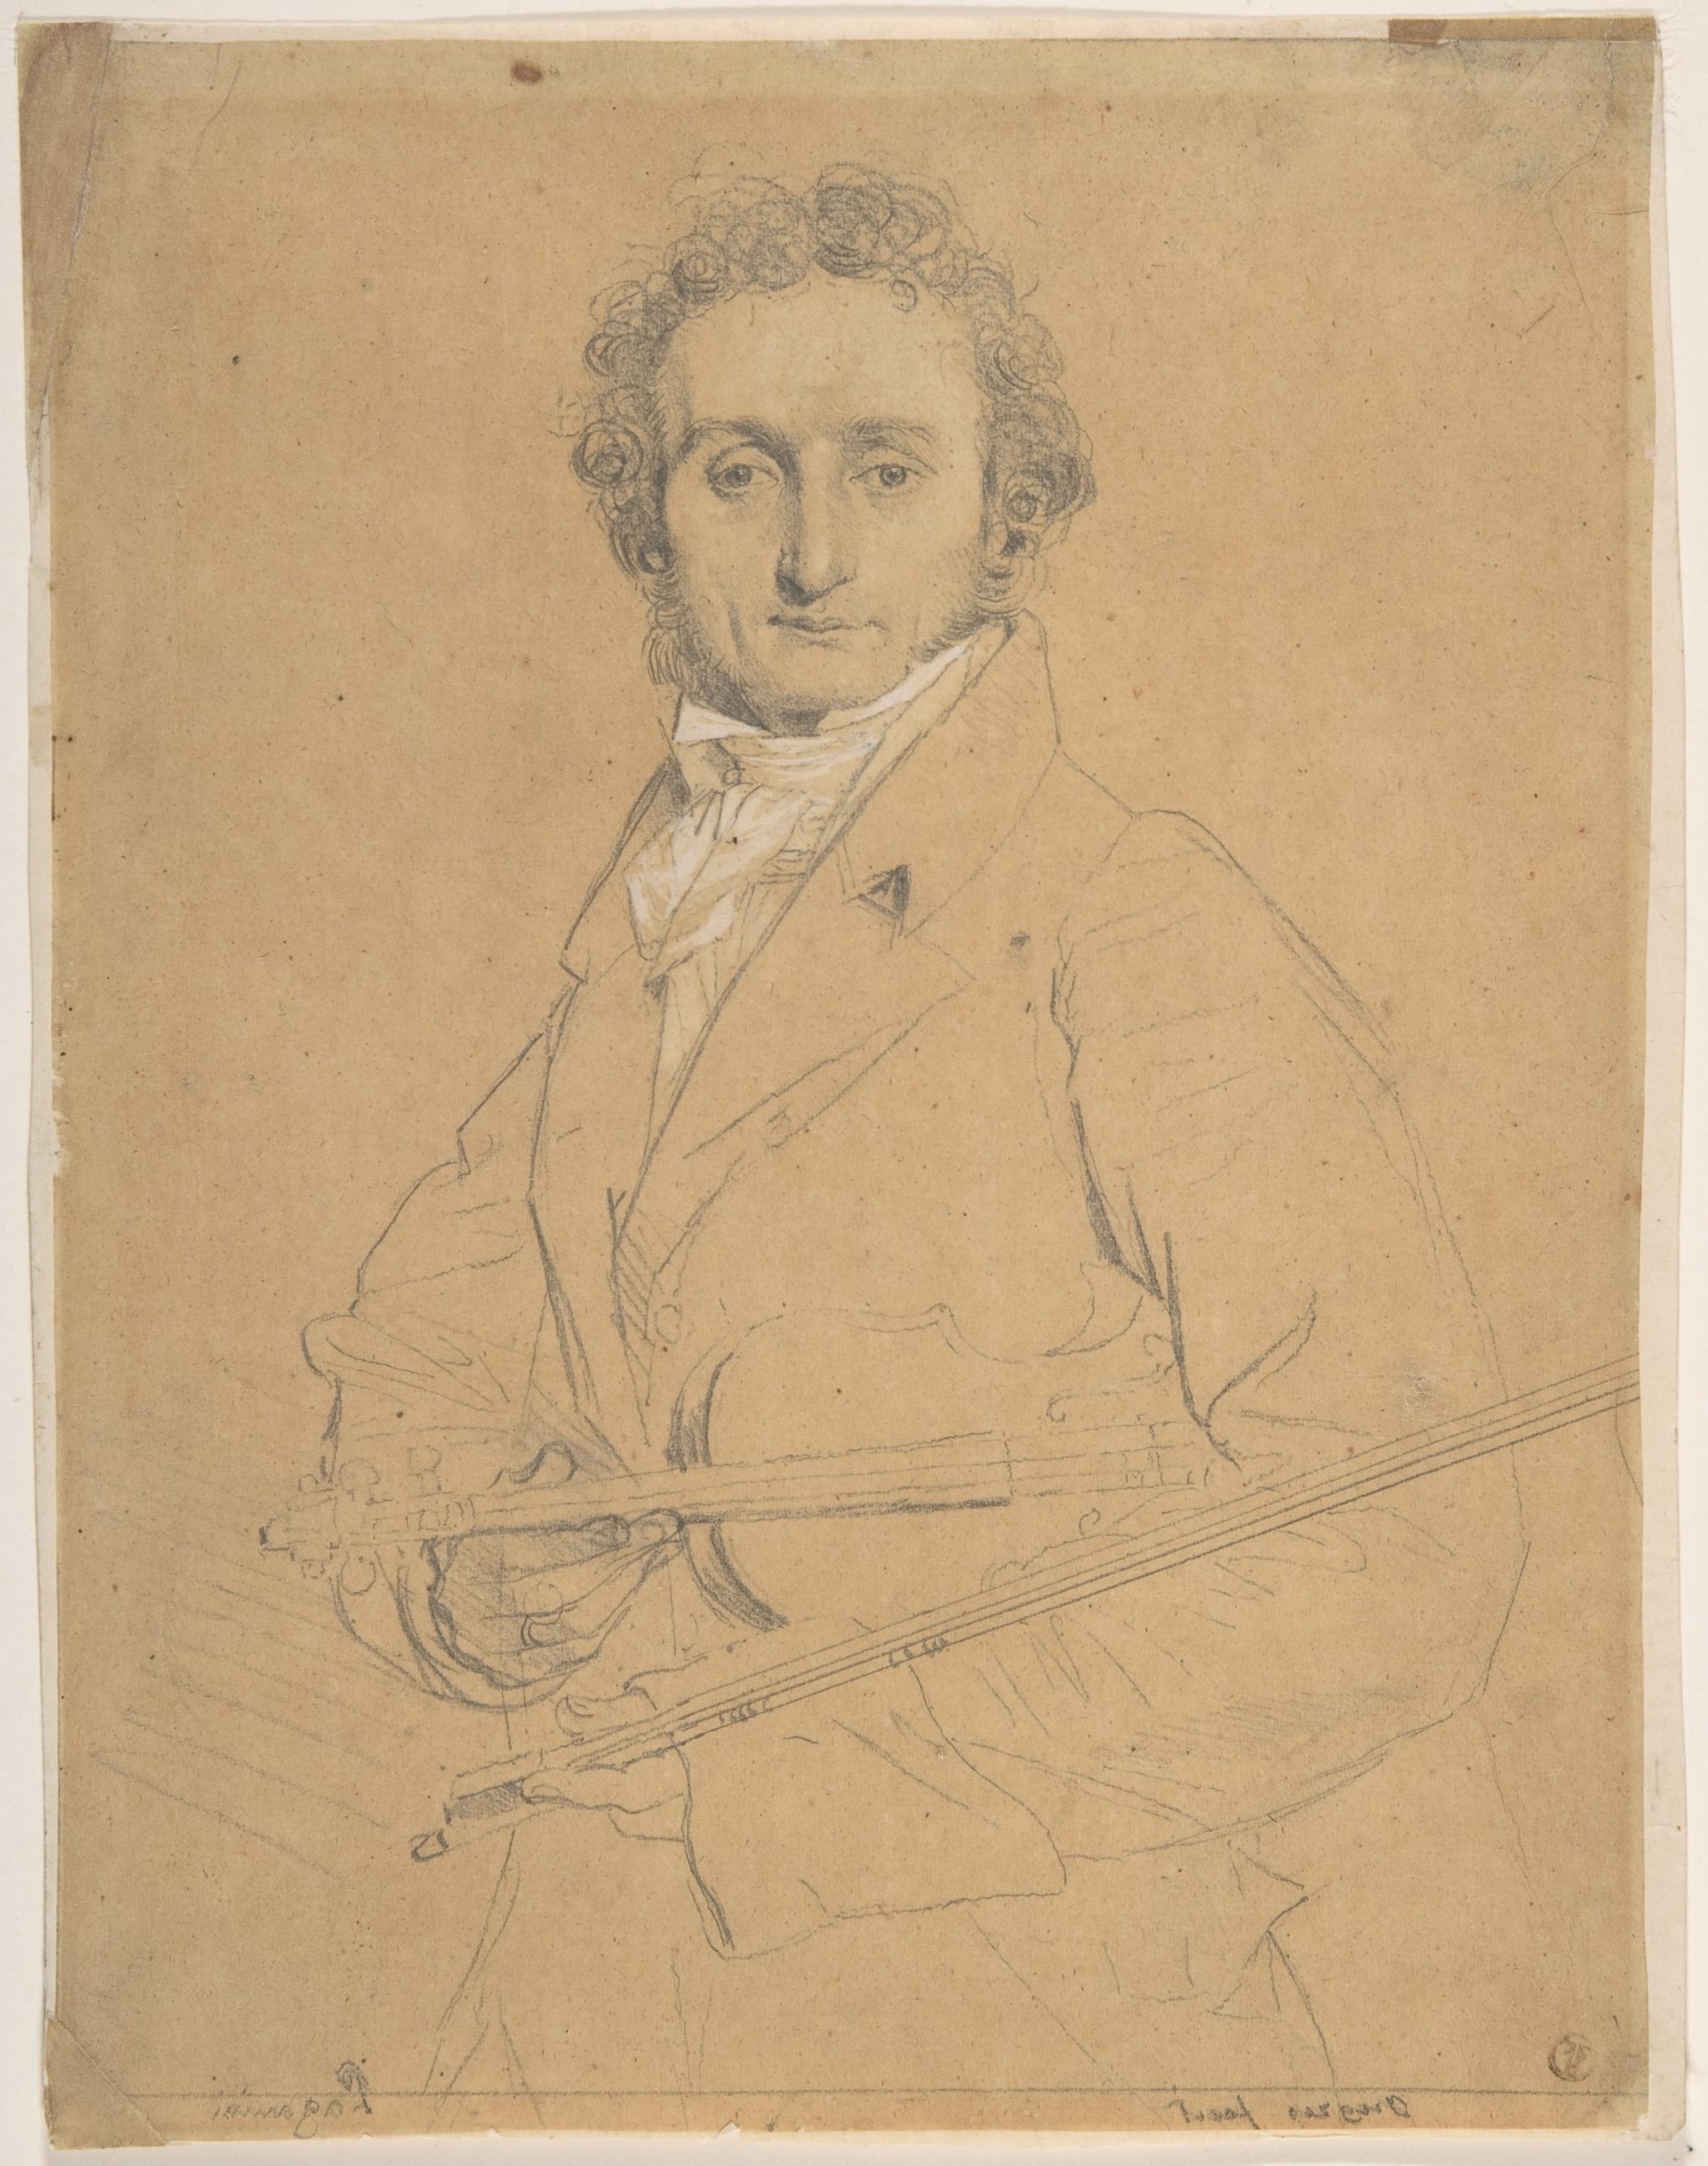
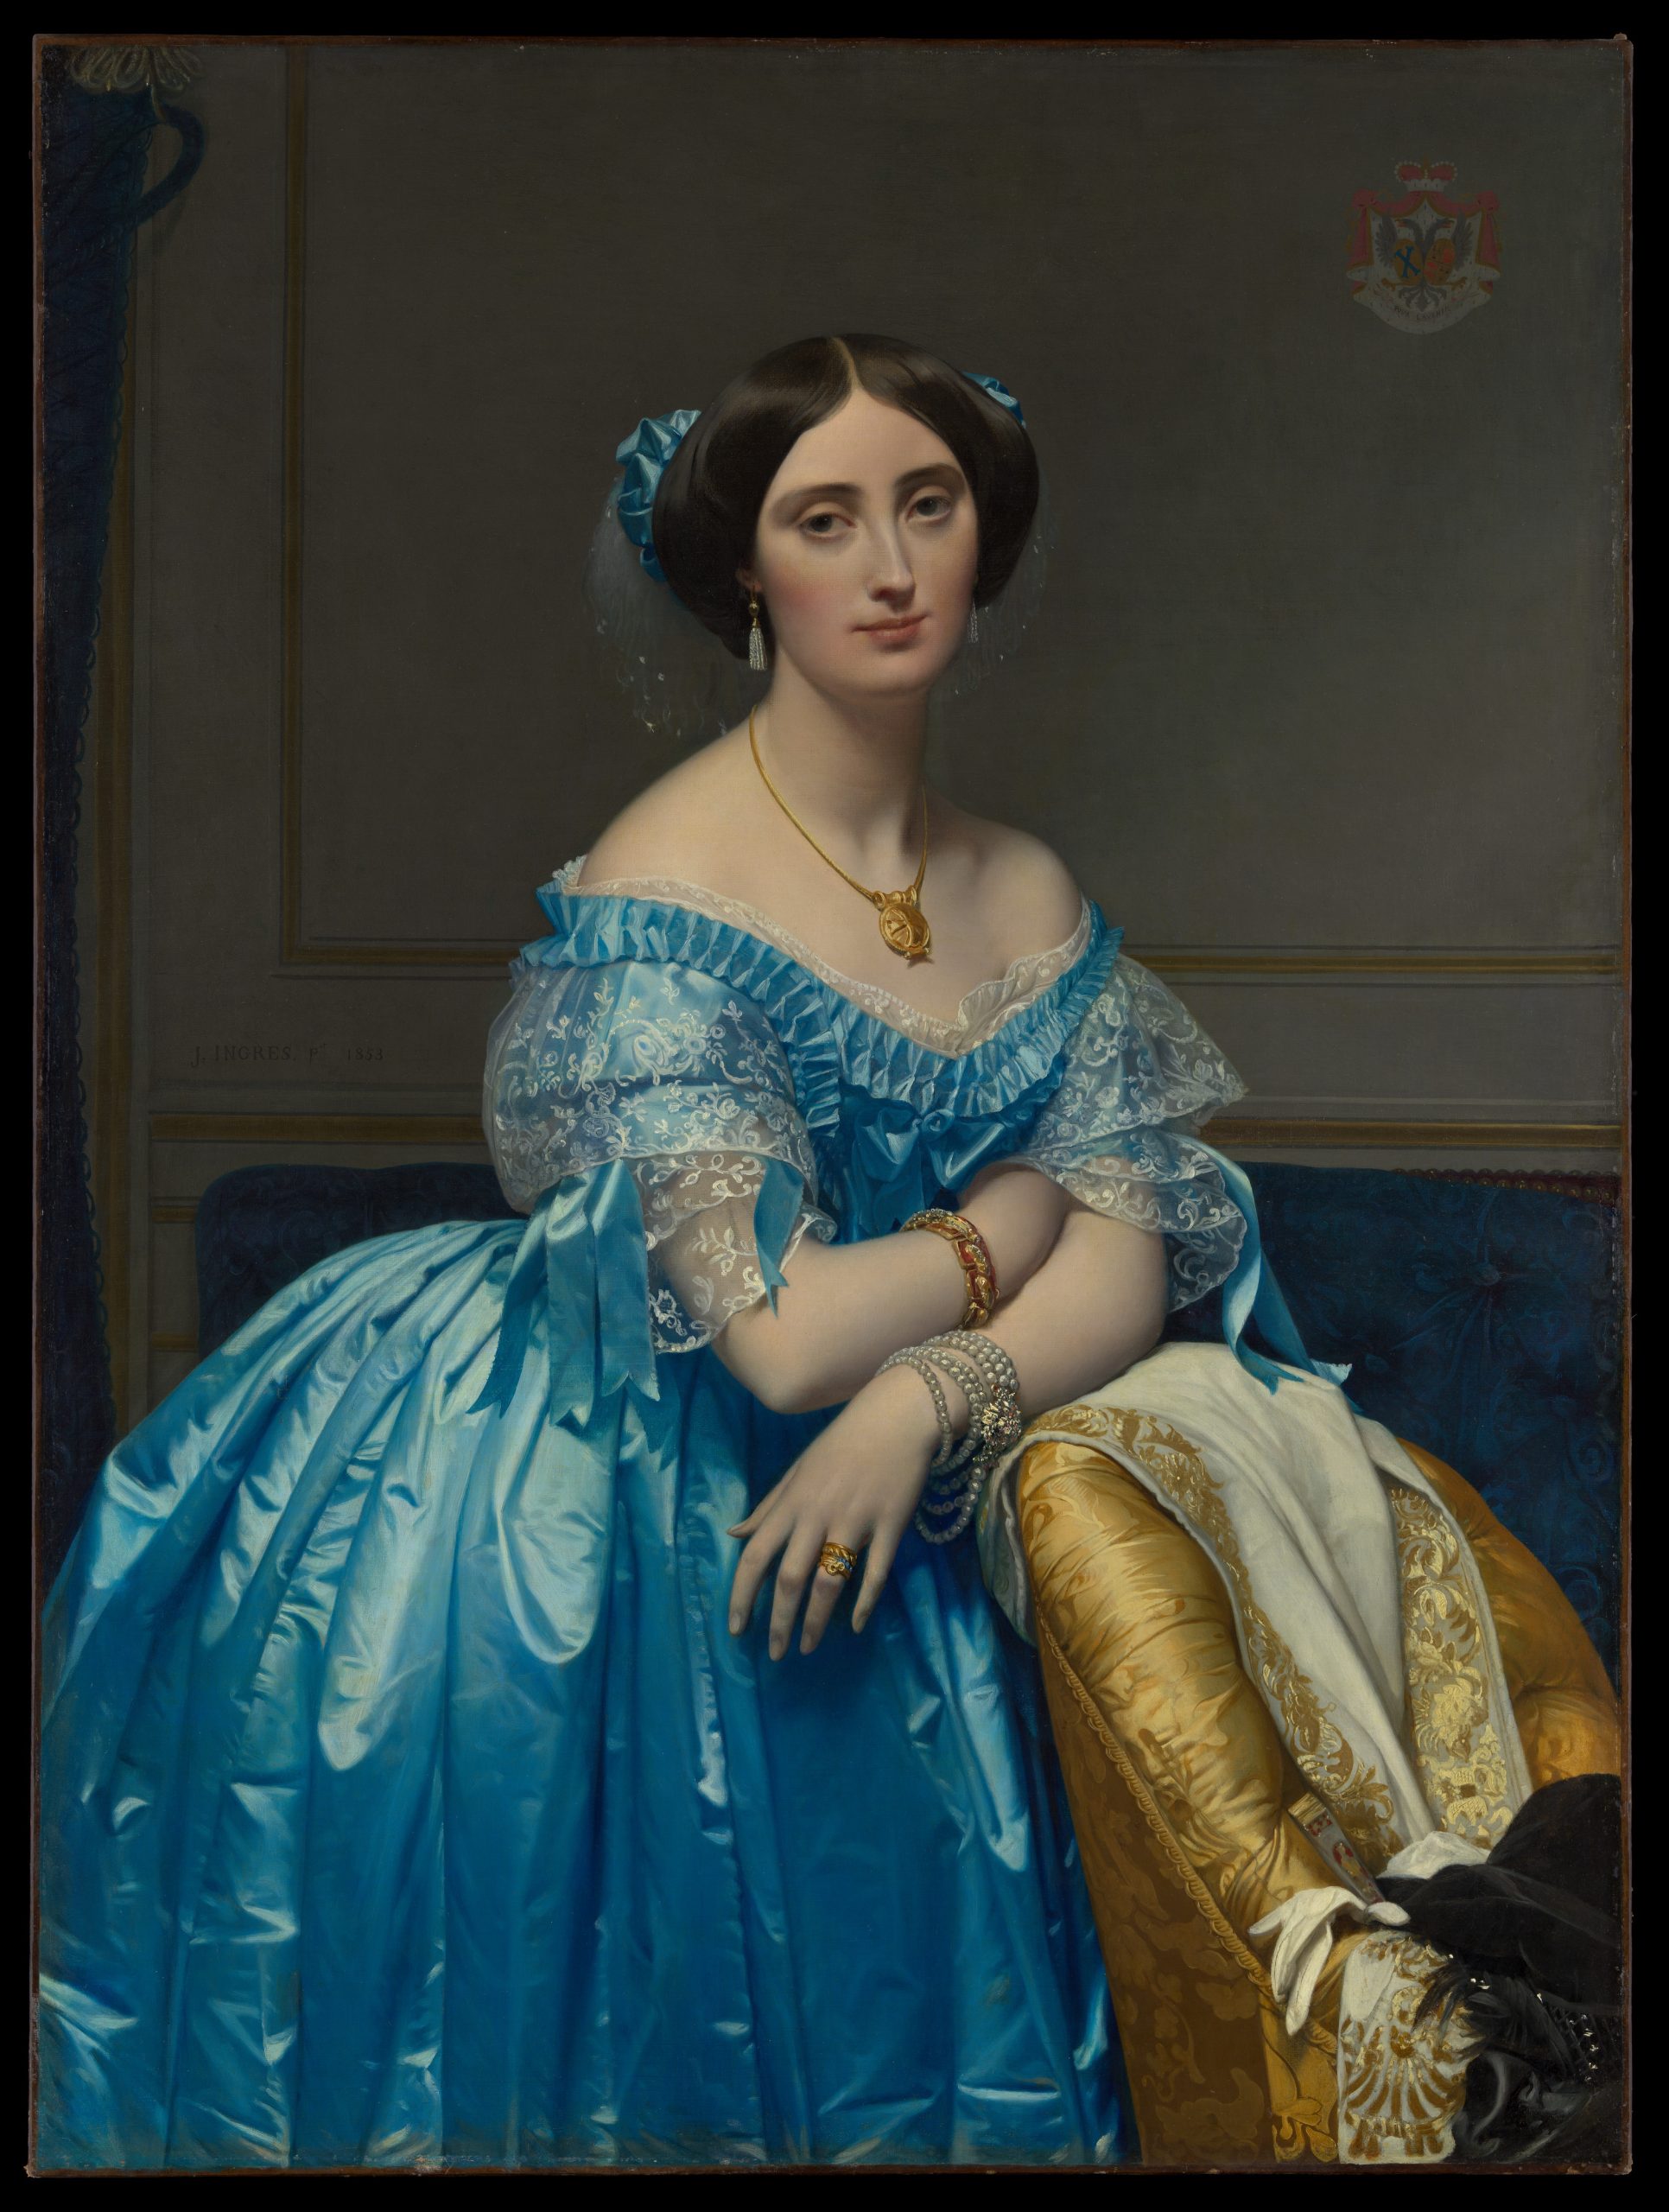
Jean-Auguste-Dominique Ingres may not be a household name to many, but this 19th-century master has works featured in the Louvre, and has inspired generations of artists since he began earning recognition at the turn of the 1800s. While much of his work focuses on history, religion, and mythology–a connection to Raphael and other Renaissance painters he admired–Ingres displayed a preternatural talent for portraiture, capturing the form of his subjects with an accuracy that continues to astonish.

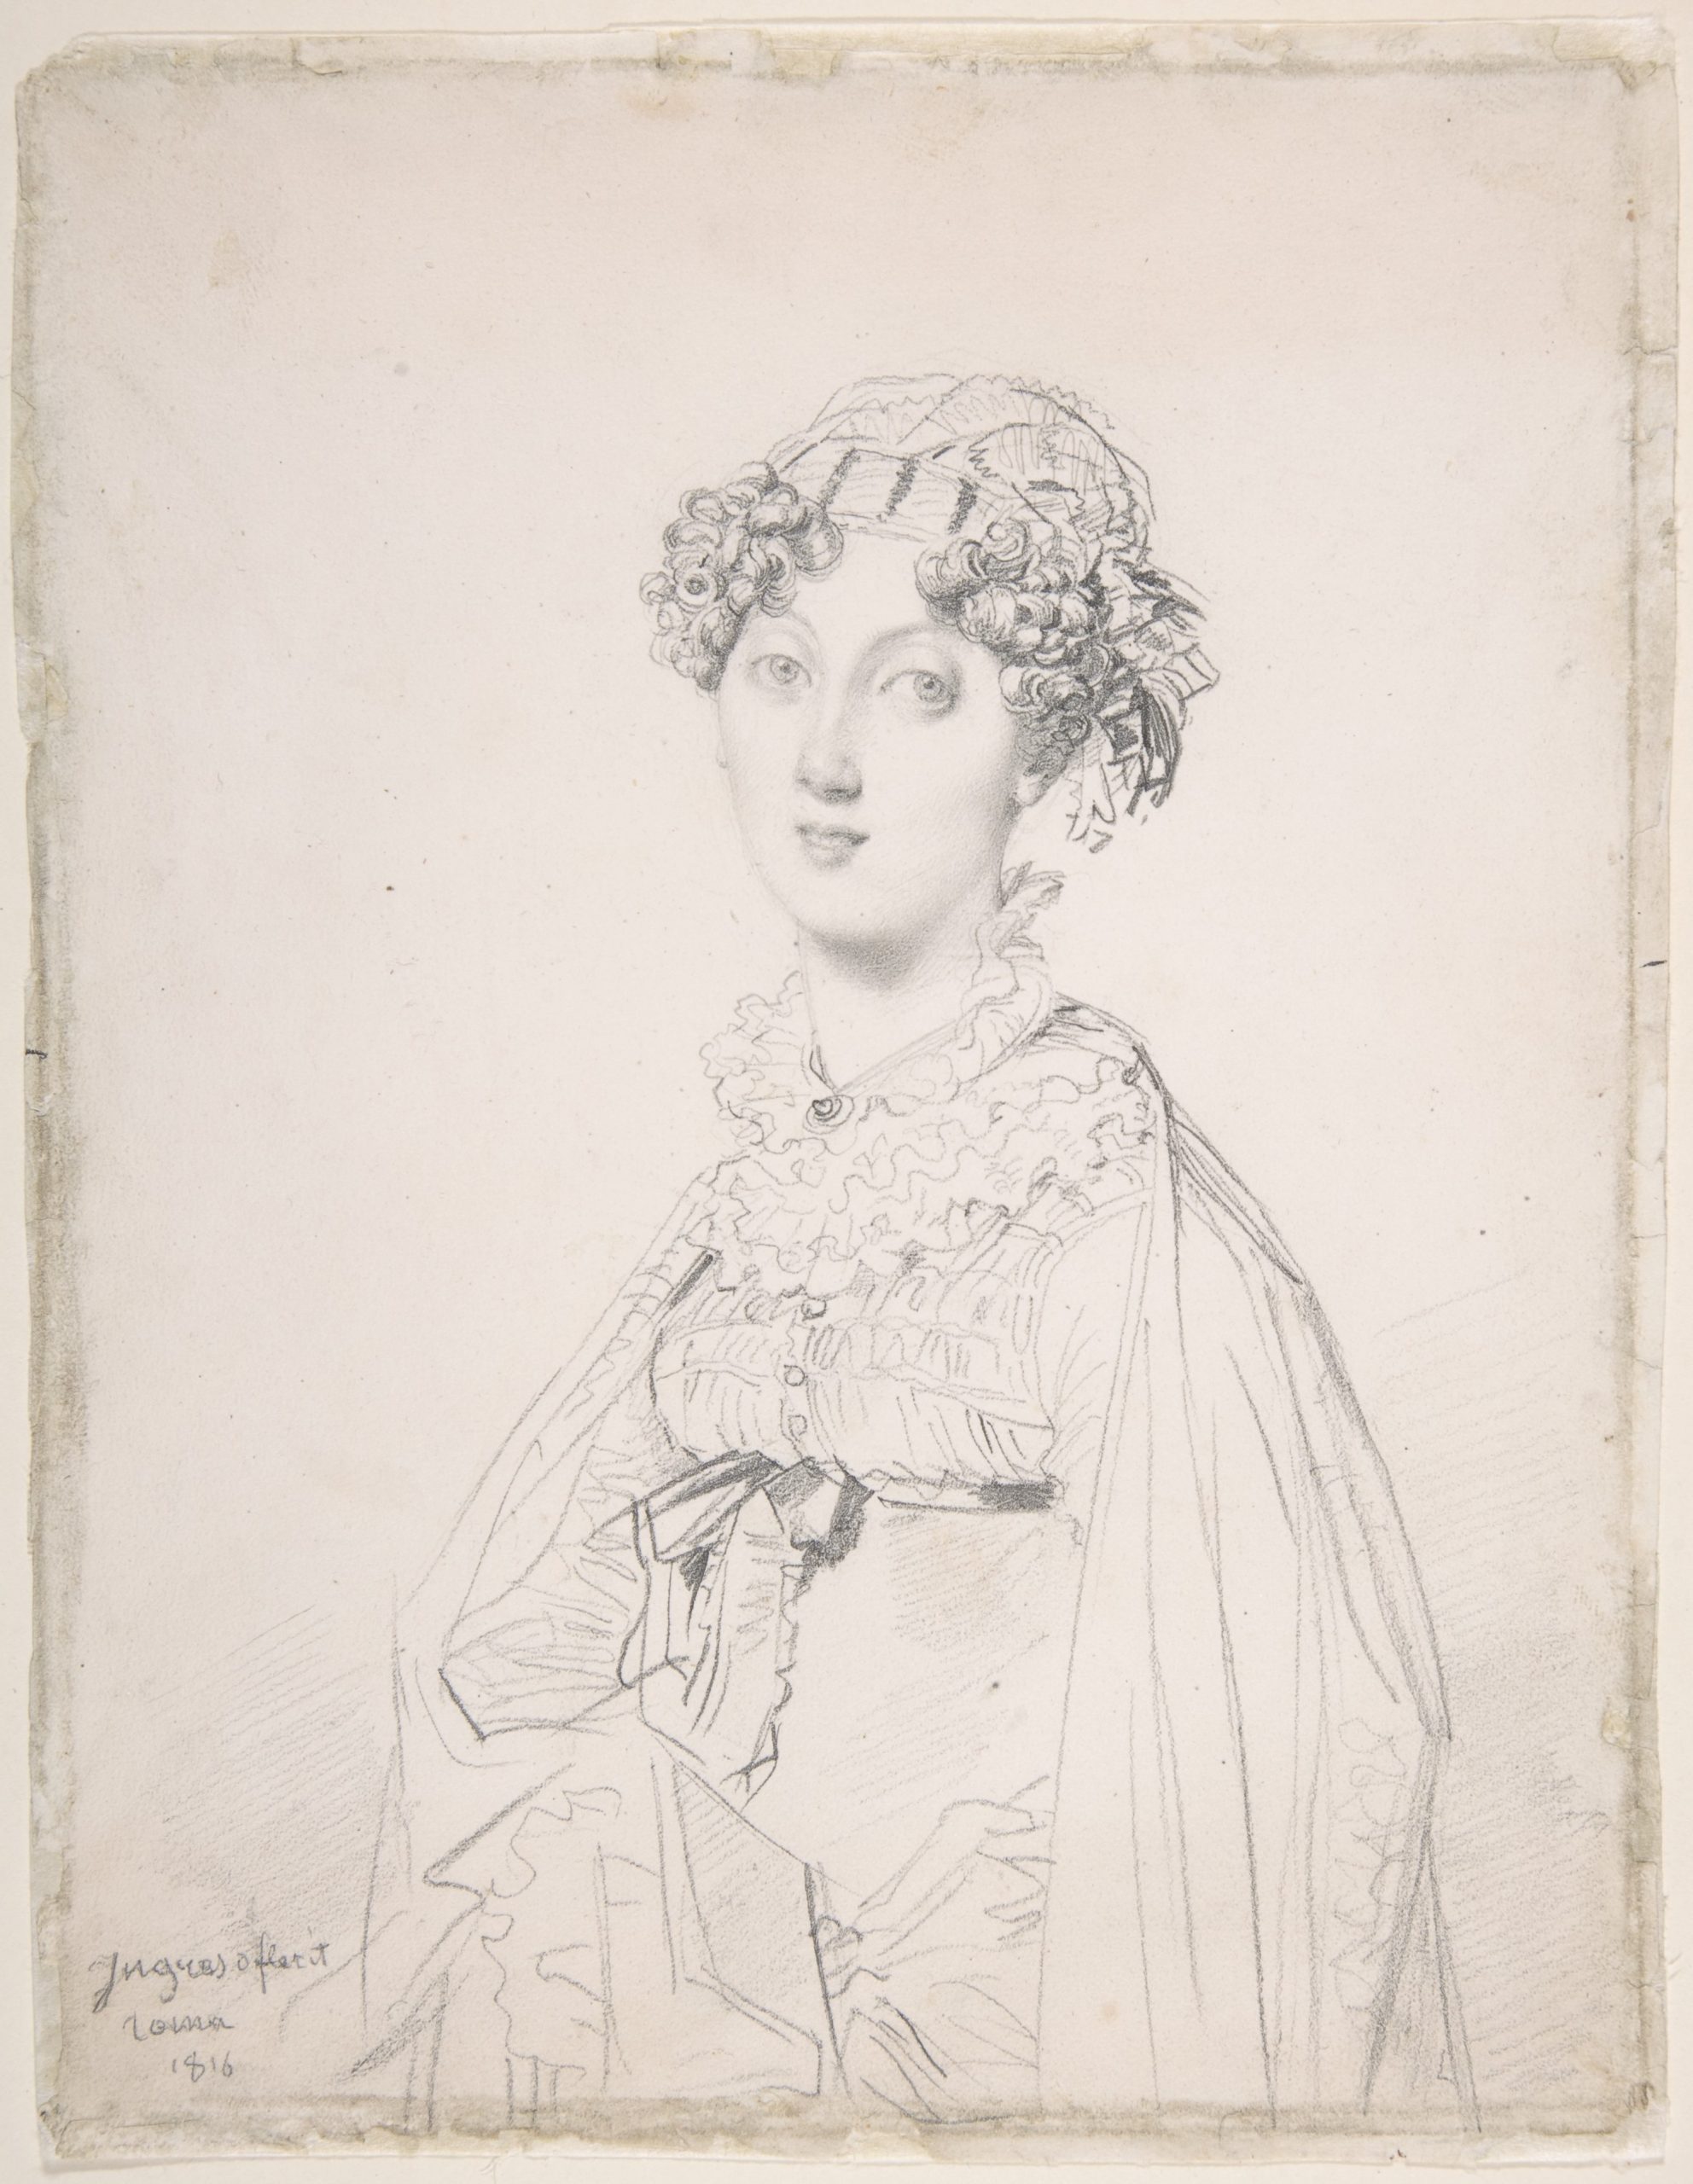
Portrait of Lady Mary Cavendish Bentinck by Ingres (1817), pencil Portrait of Niccolo Paganini by Ingres (ca. 1830), pencilPortrait of Princesse Pauline de Broglie by Ingres (1851-53), oil on canvas

At a time when photography was still a novelty, Ingres proved himself adept in photorealism. Individual details are fascinating in their exactness; together, they form a captivating image that carries the spirit of its subject. There is true mastery in his portraits, brought  to life through carefully constructed line and shade.

DA_VINCI_EYE_BREAST_CANCER_MONTH_RIBBON

Breast Cancer Awareness Month

According to the American Cancer Society (ACS), breast cancer is one of the most common forms of cancer, second only to skin cancer among women. In fact, there is a 1 in 8 chance that a woman will develop breast cancer at some point in her life, and the ACS estimates over 300,000 new cases in the US in 2024 alone. While these figures highlight the prevalence and significance of this disease, there is another, more encouraging trend: the decrease in breast cancer death rates, a sign of progress the ACS credits to “finding breast cancer earlier through screening and increased awareness, as well as better treatments.”

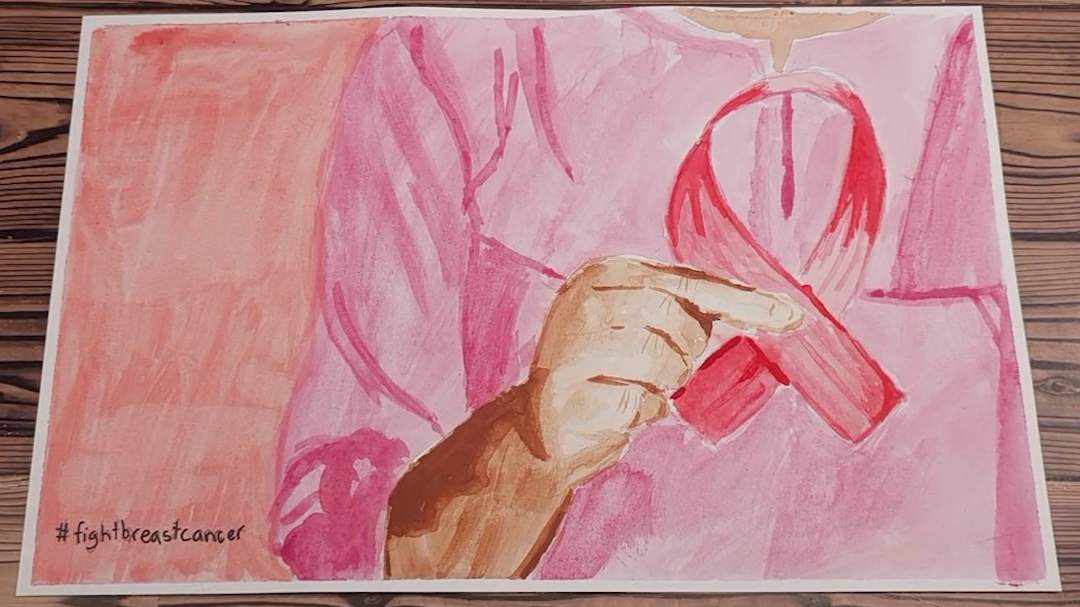
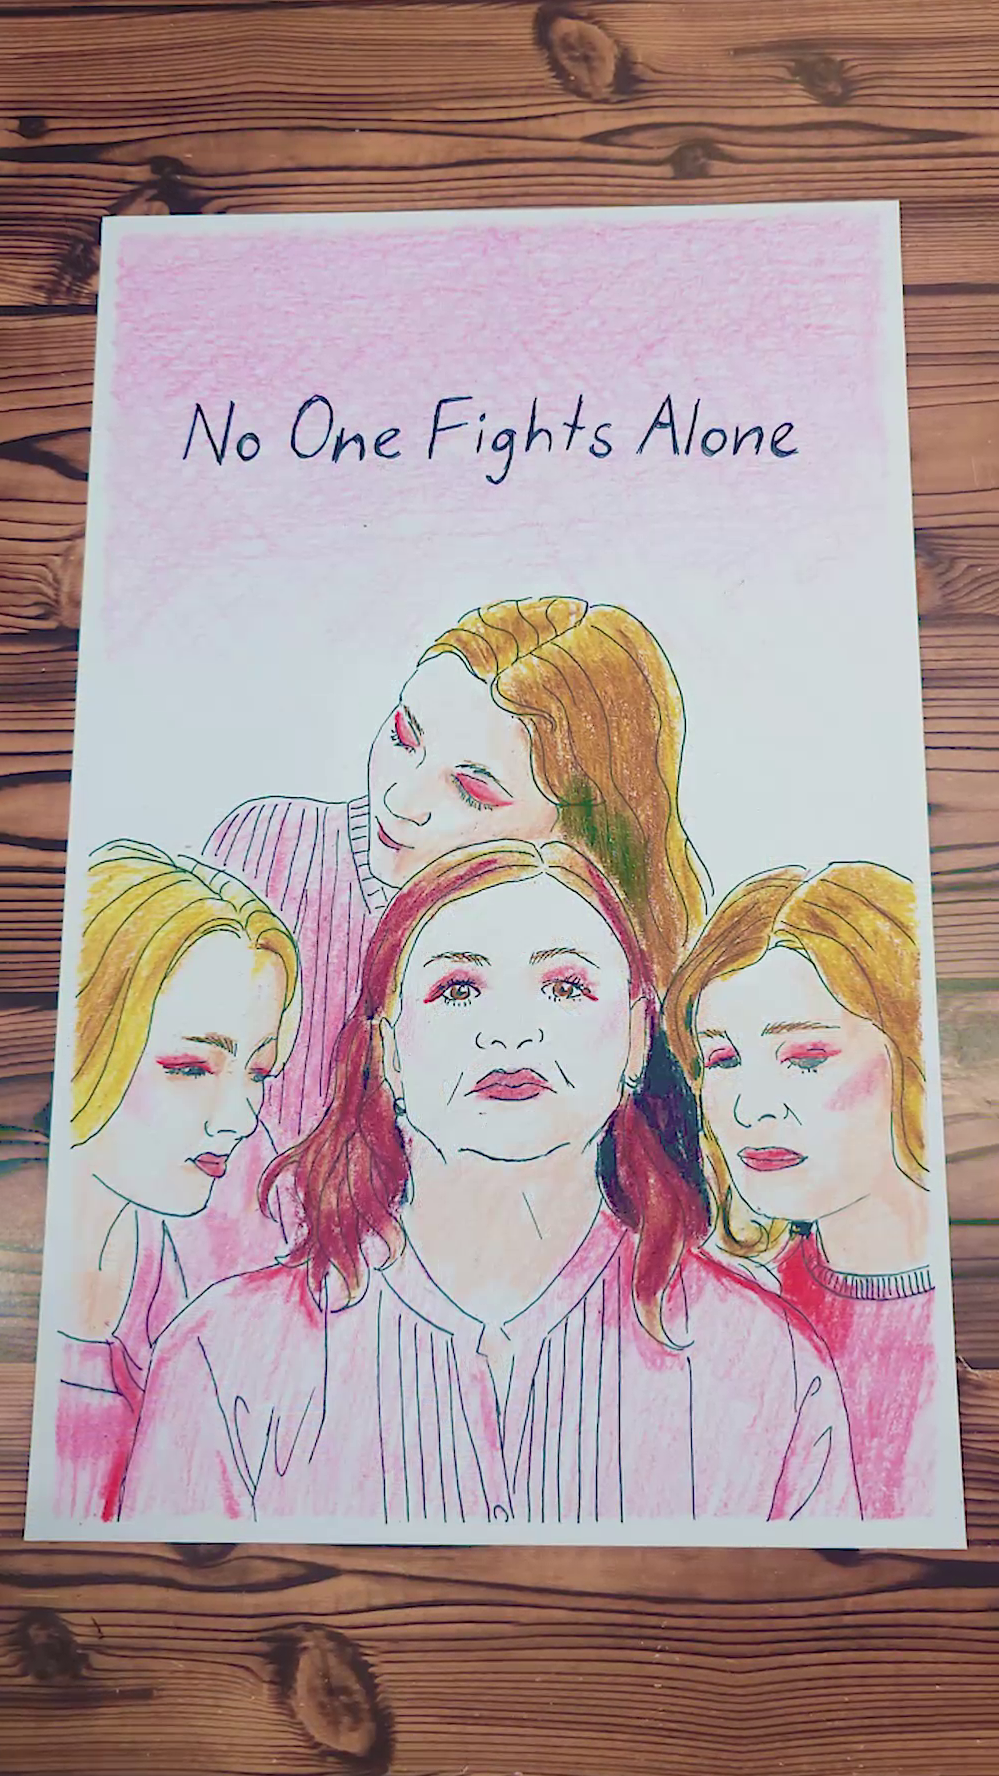
In recognition of Breast Cancer Awareness Month and the millions of lives affected, we invite you to create artwork that spreads a message of knowledge and hope. Find your inspiration in the journey of people all over the world, capture the spirit and the beauty of a movement, and let us make the creative process a little easier.

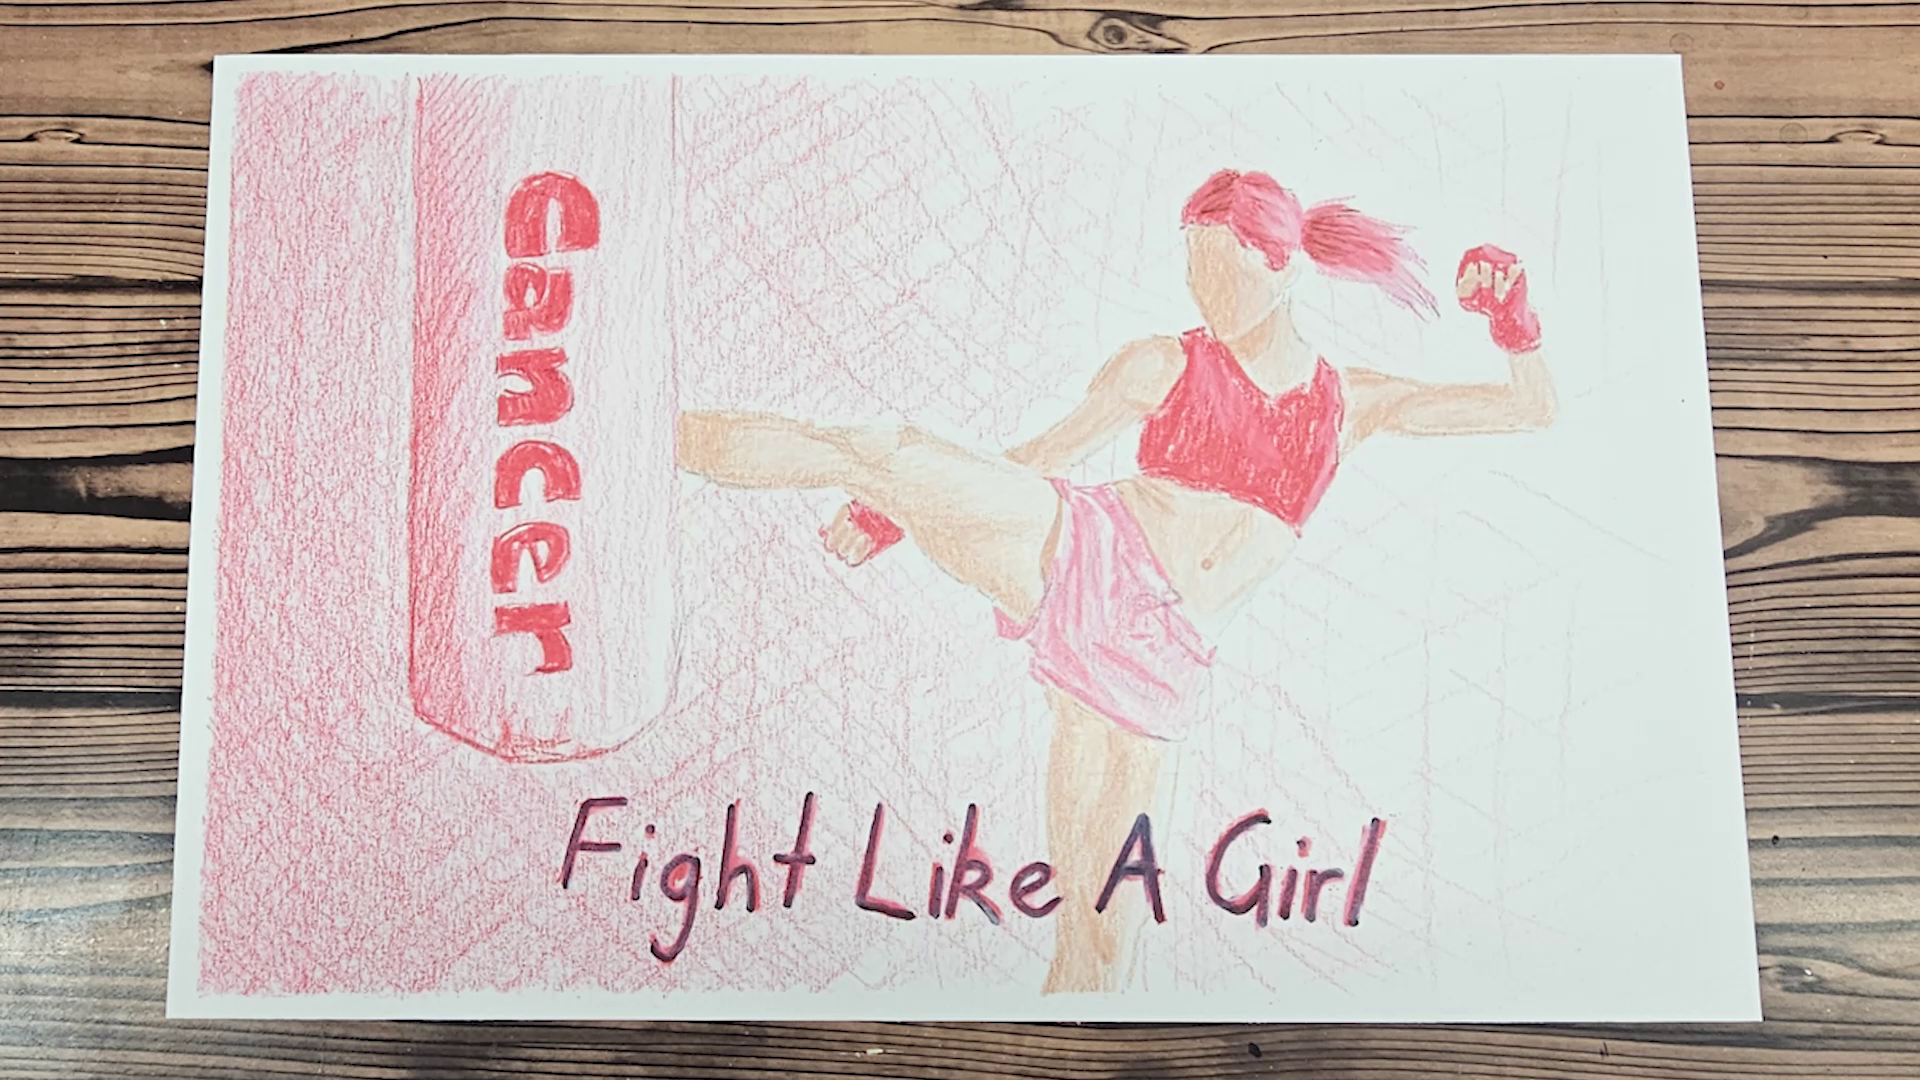
Breast Cancer Awareness Month AR Art - Fight Breast Cancer (Ribbon)Breast Cancer Awareness Month AR Art - No One Fights AloneBreast Cancer Awareness Month AR Art - Fight Like A Girl

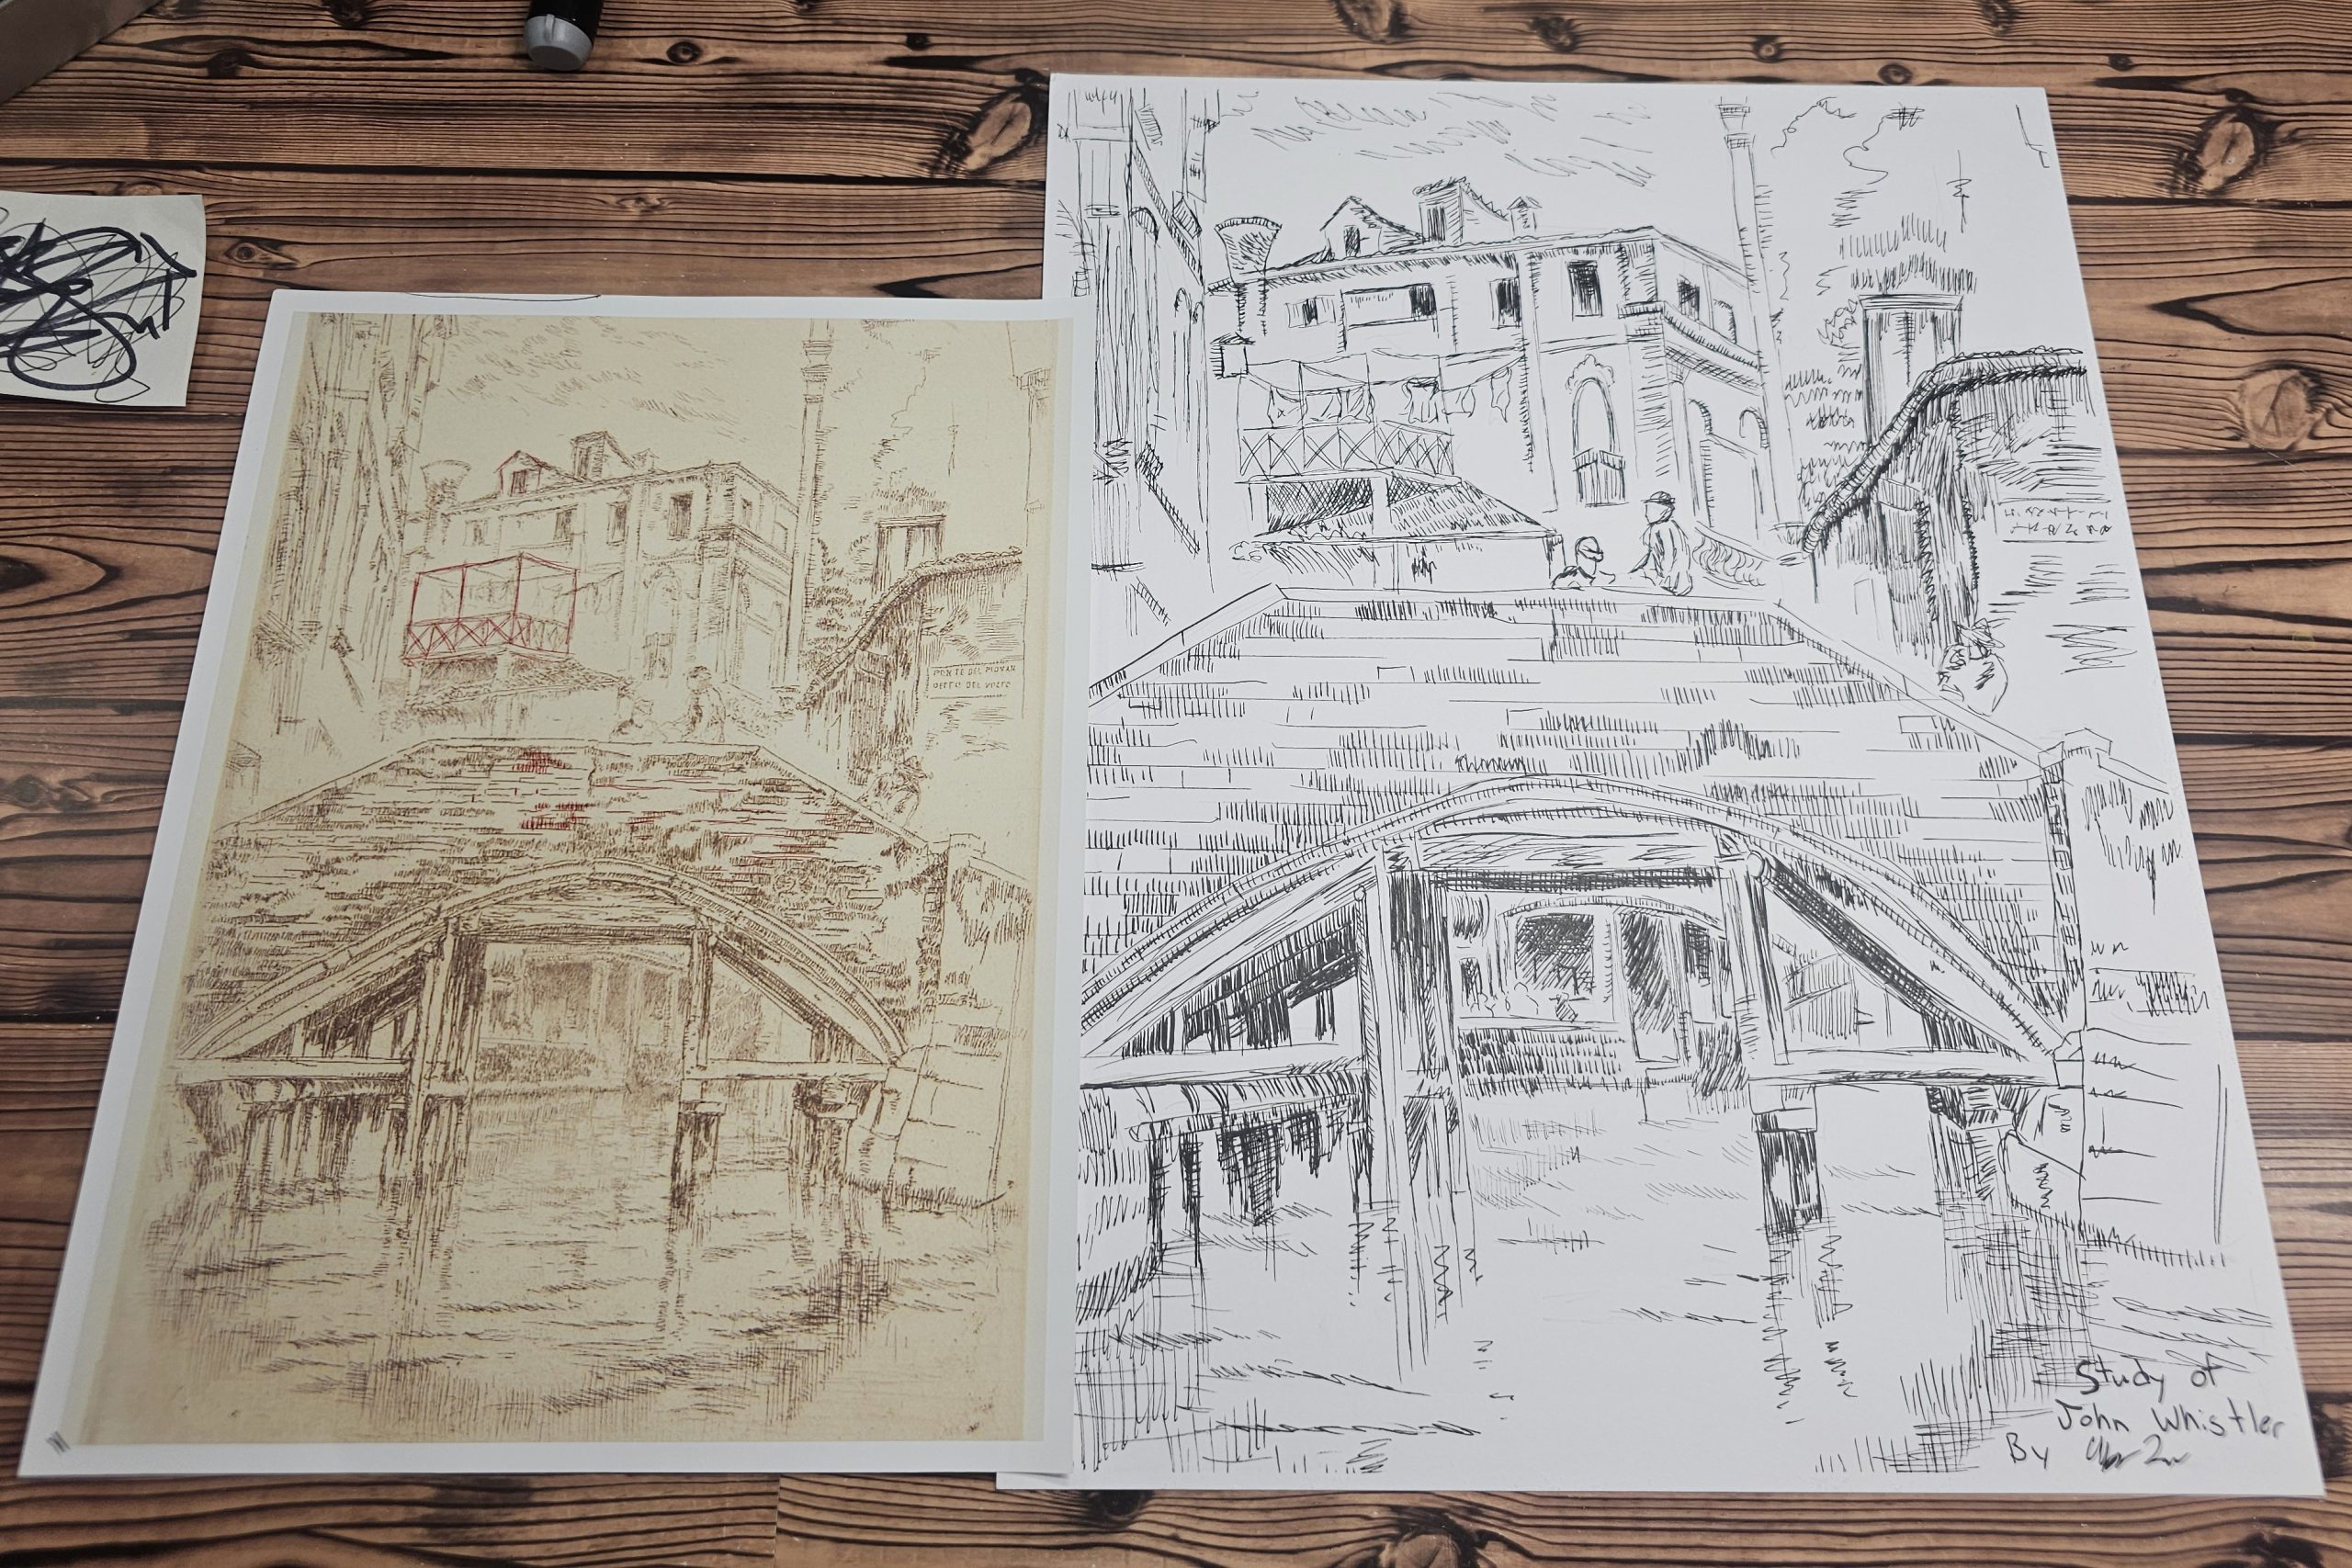
Ponte del Piovan (1879–80)

AR Drawing Study of James McNeill Whistler

One of the richest sources of inspiration is the deep well of art that has been created throughout history. In recognition of how much there is to learn, Da Vinci Eye is proud to present our Master of the Month series. Each month, we will feature an artist, style, or subject from which to learn technique and to gain insight. Da Vinci Eye’s AR Mode, with its variety of features, allows us to dive deeper into what sparks our creativity.

In particular, tracing or mimicking the artwork of established talents offers many unique benefits. Going over the lines of experts is an experience that raises illuminating questions. What details might have caught their eye? How did they construct the image to cement it on the page? And through what visual language did they bring the scene to life? It is no surprise that this method of study is a longtime feature of classical art education.

Da Vinci Eye’s Master of the Month: James McNeill Whistler

Our inaugural Master is American painter James McNeill Whistler. While most known for painting his mother, Whistler was also a prolific sketcher. A look through his extensive catalog reveals an immense talent for sculpting form in light and shadow.

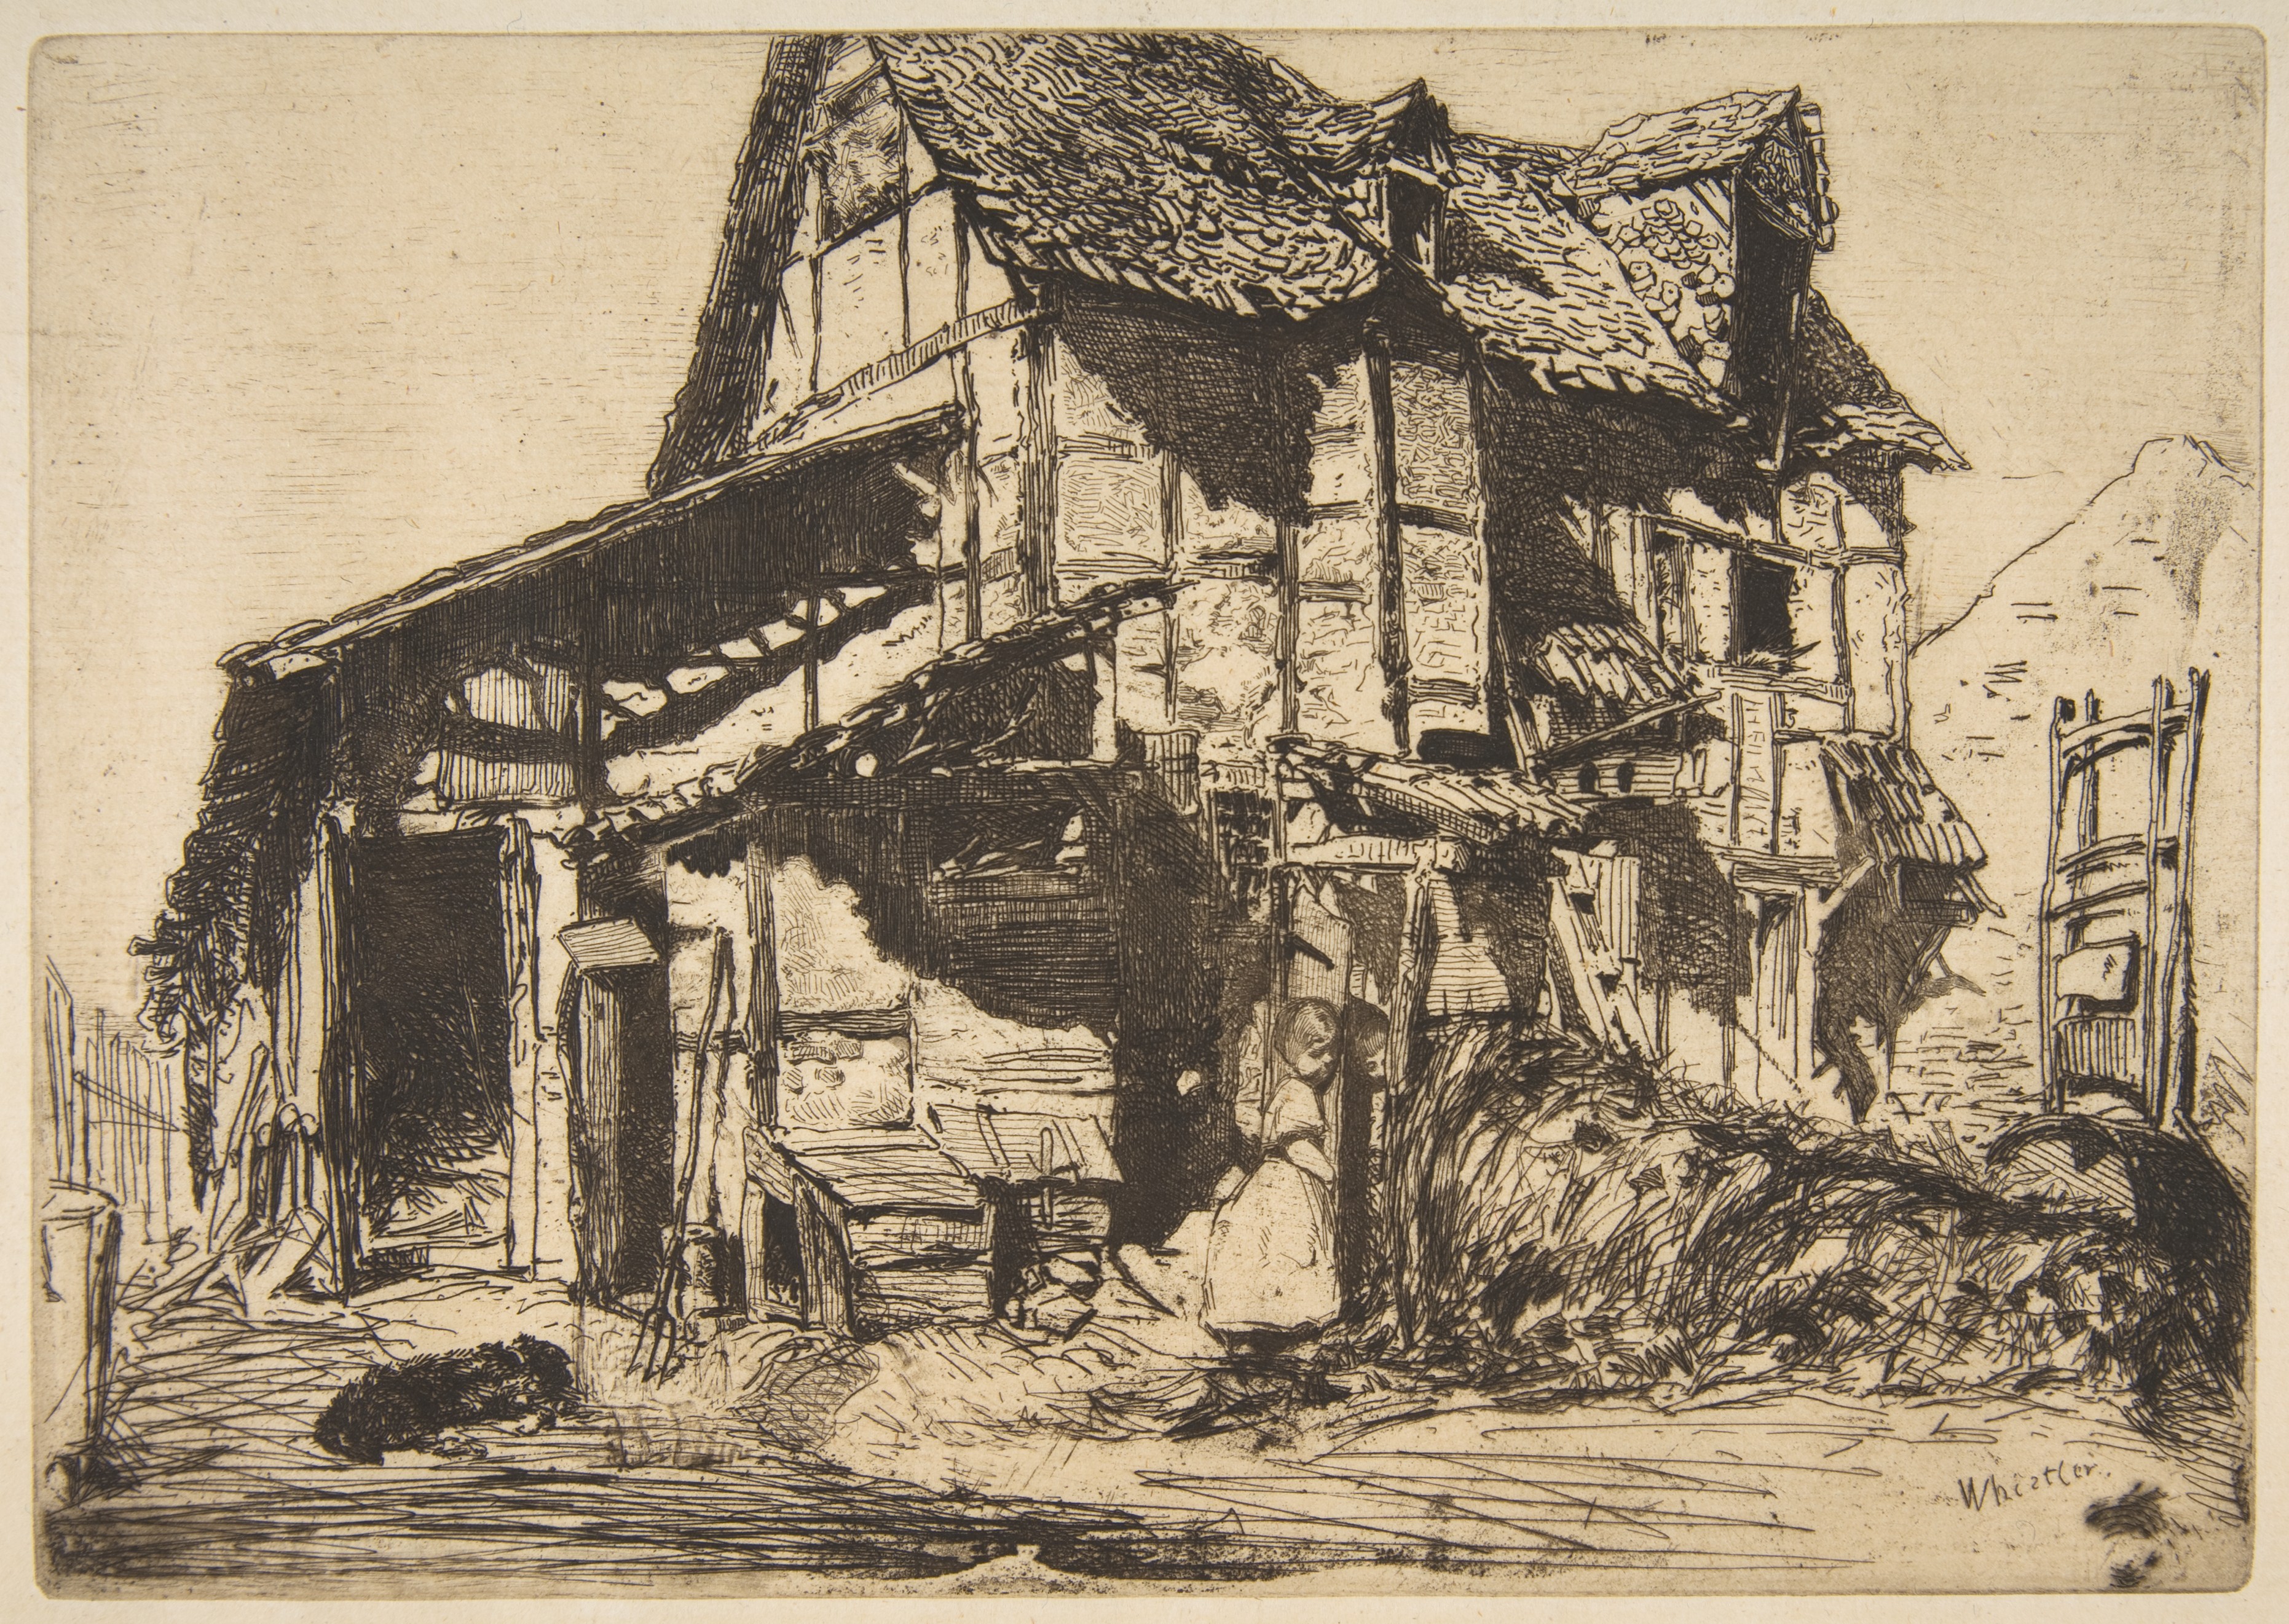
James McNeill Whistler - The Unsafe Tenement (1858)James McNeill Whistler - The Rag Gatherers (1858)

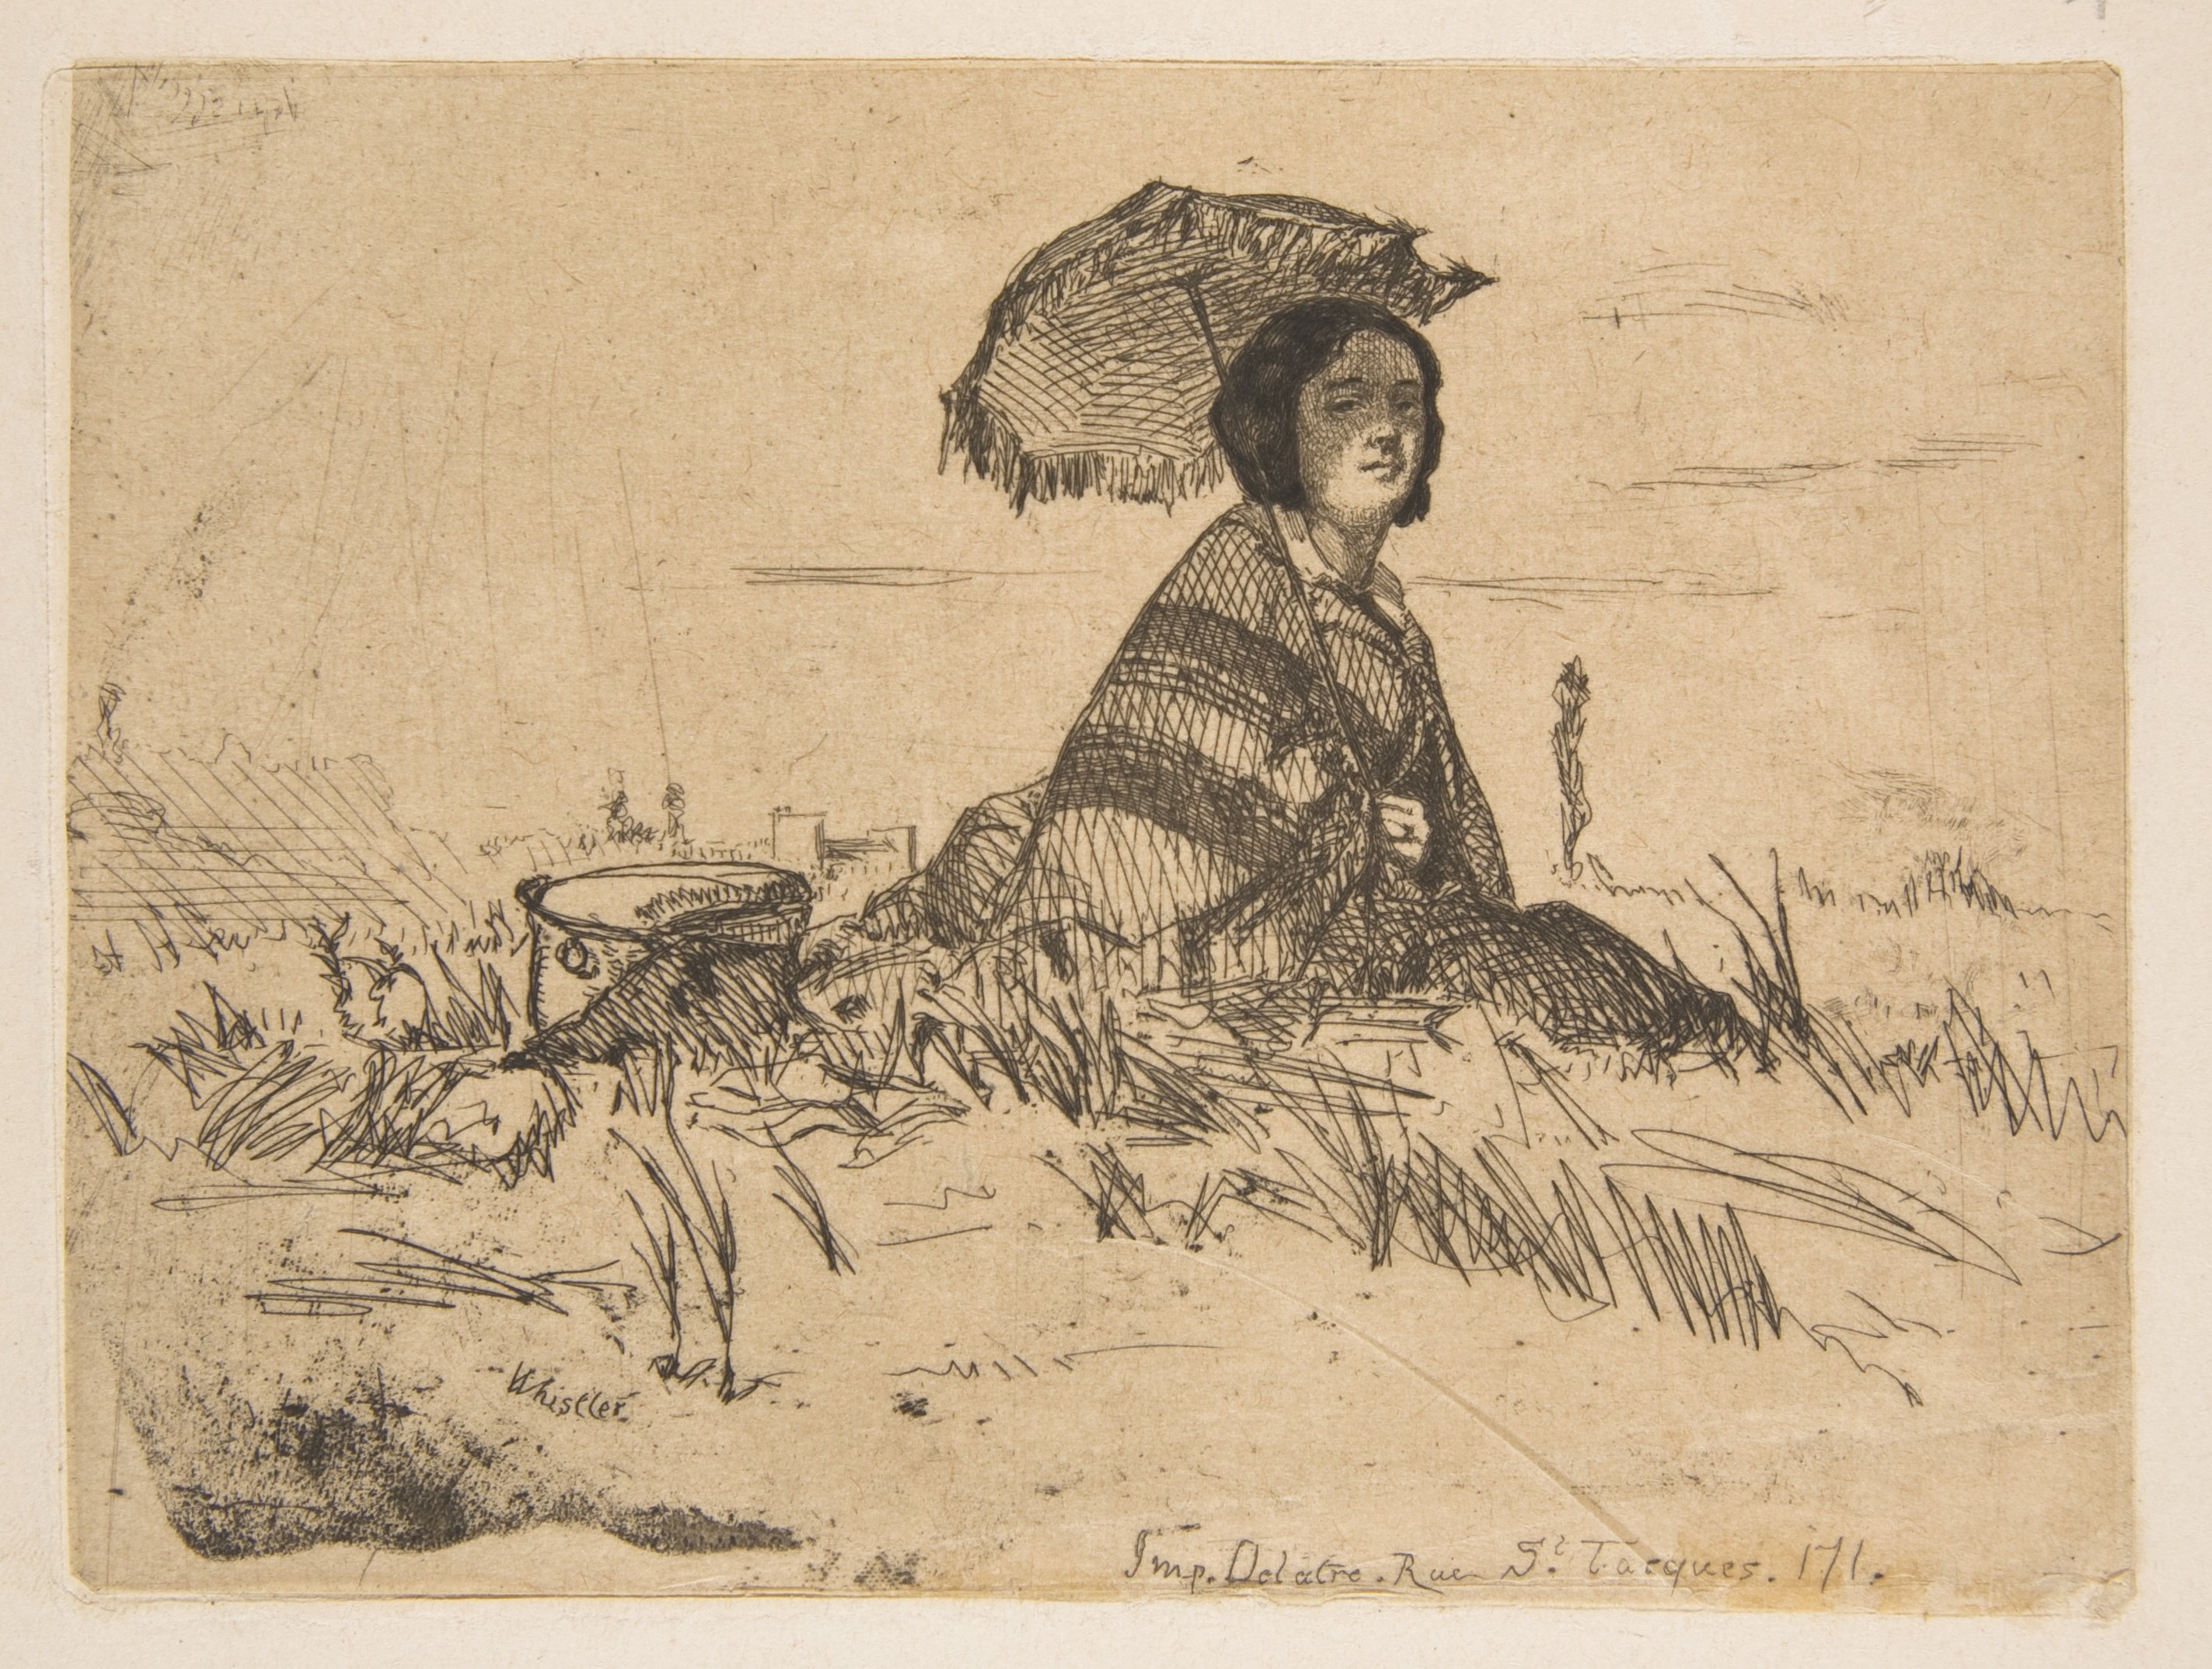
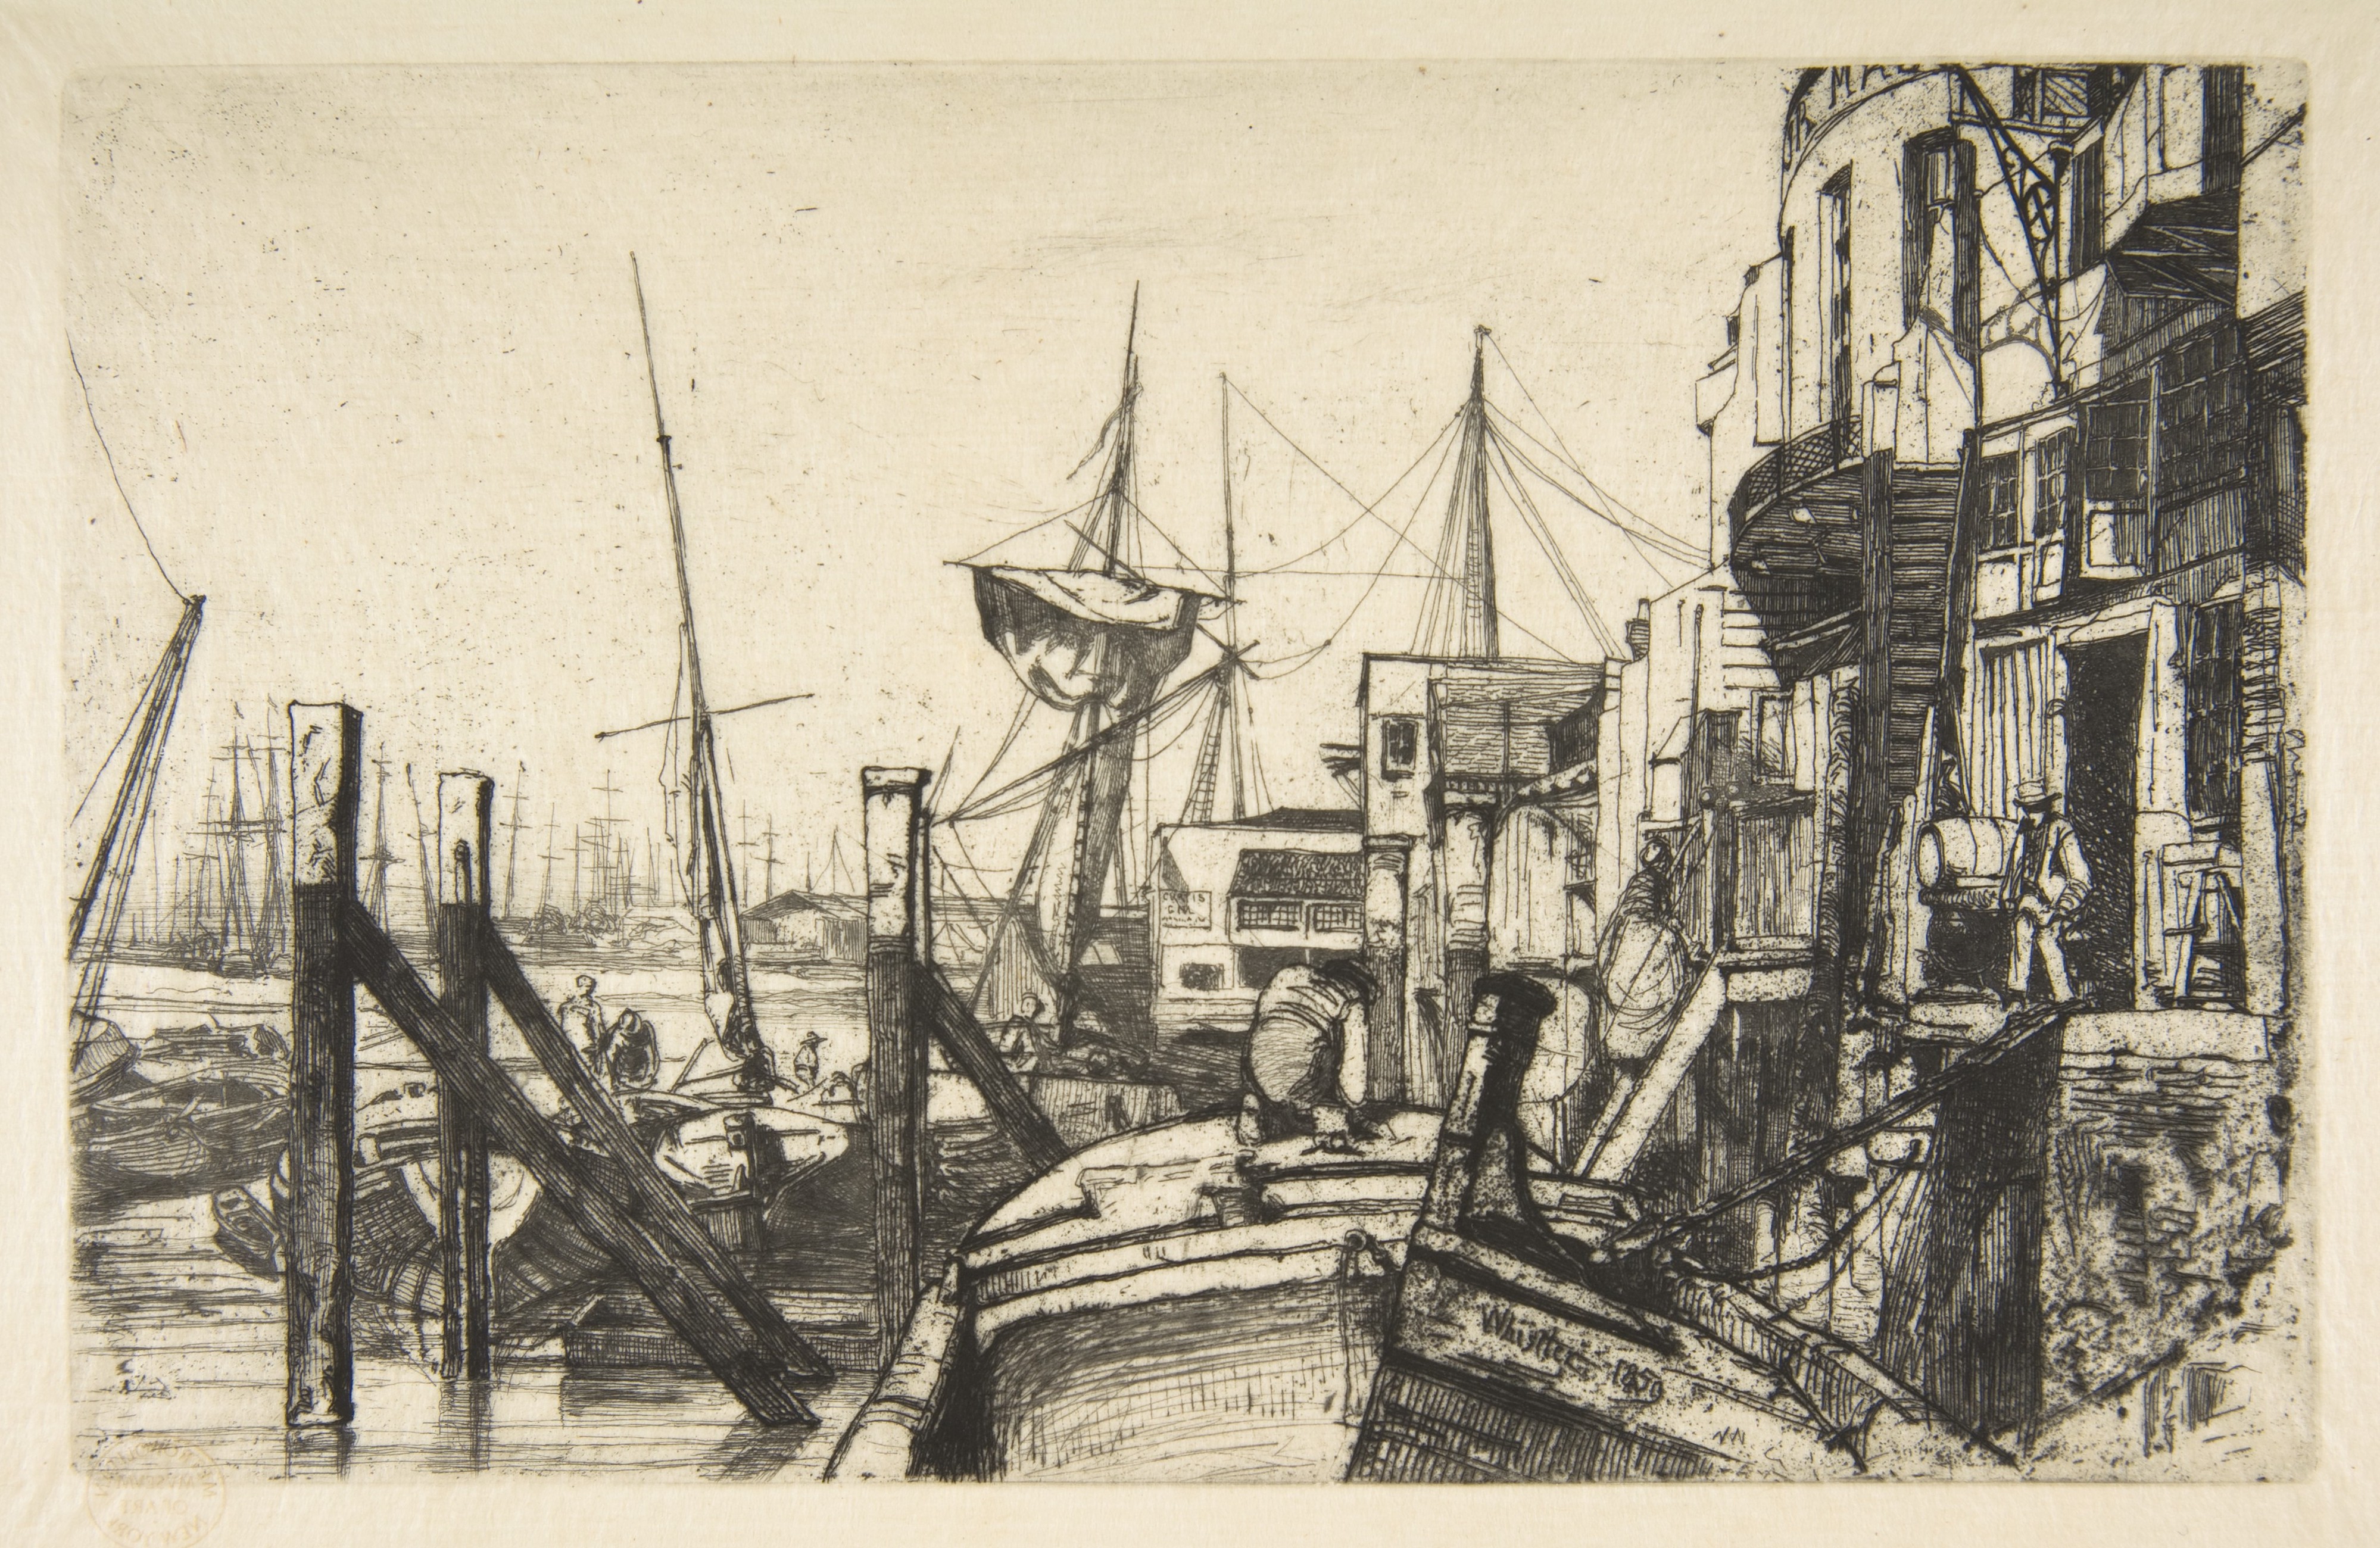
AR Drawing and Tracing with Da Vinci Eye App to Learn James McNeill Whistler - En plein soleil (1858)James McNeill Whistler - Limehouse (1859)

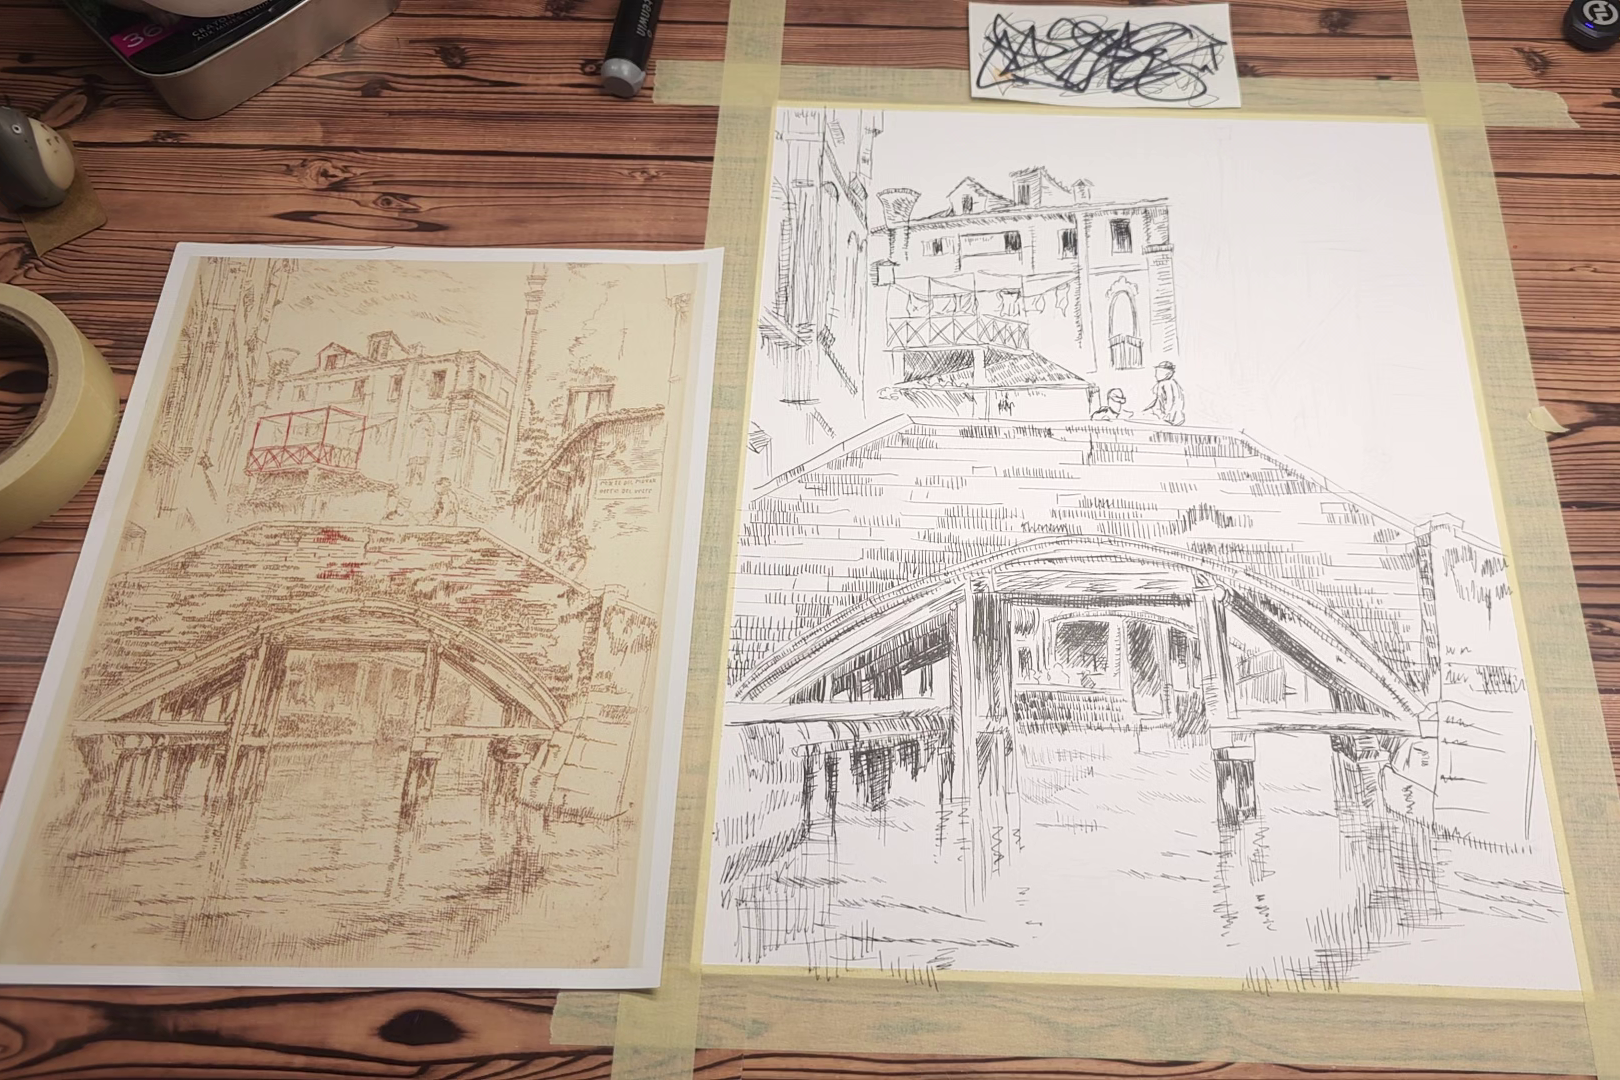
Da Vinci Eye’s AR Drawing Study of Whistler: Ponte del Piovan

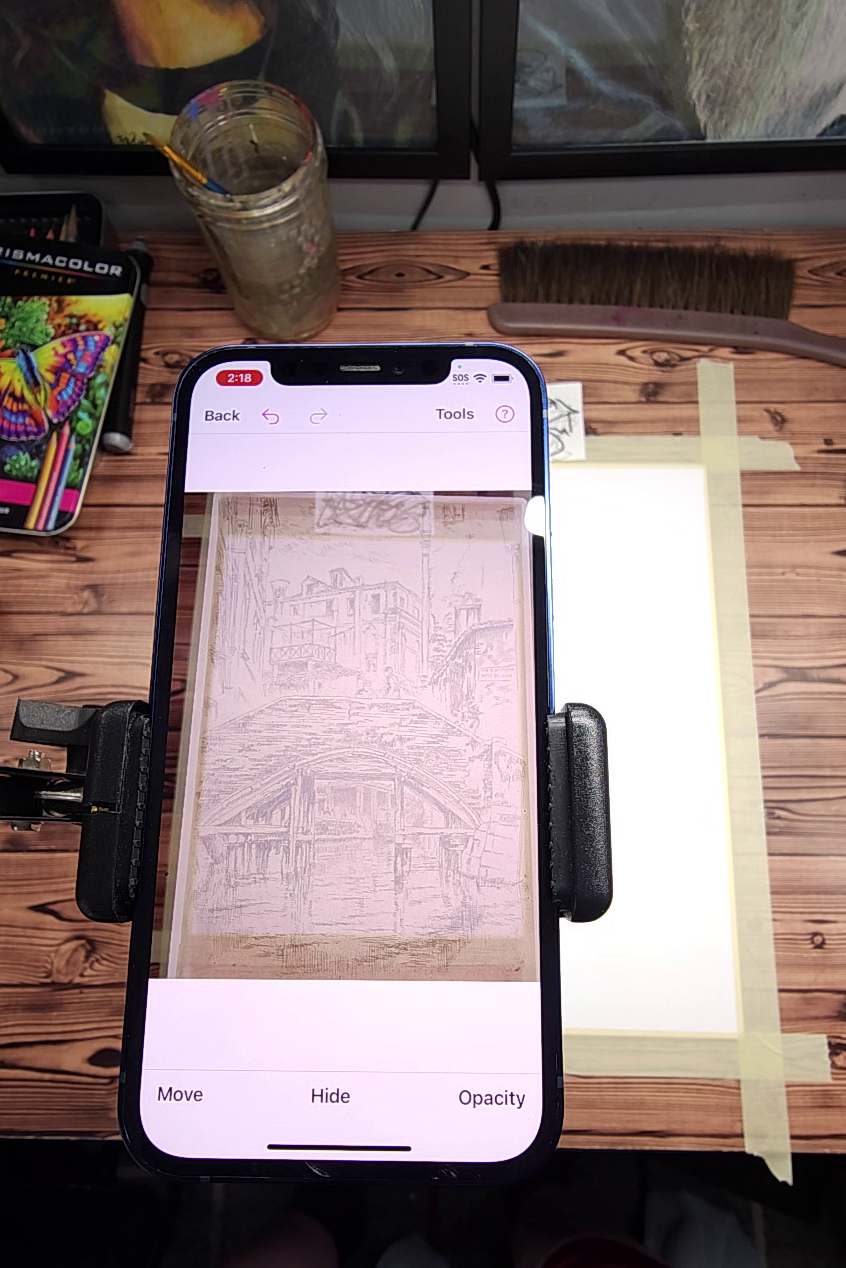
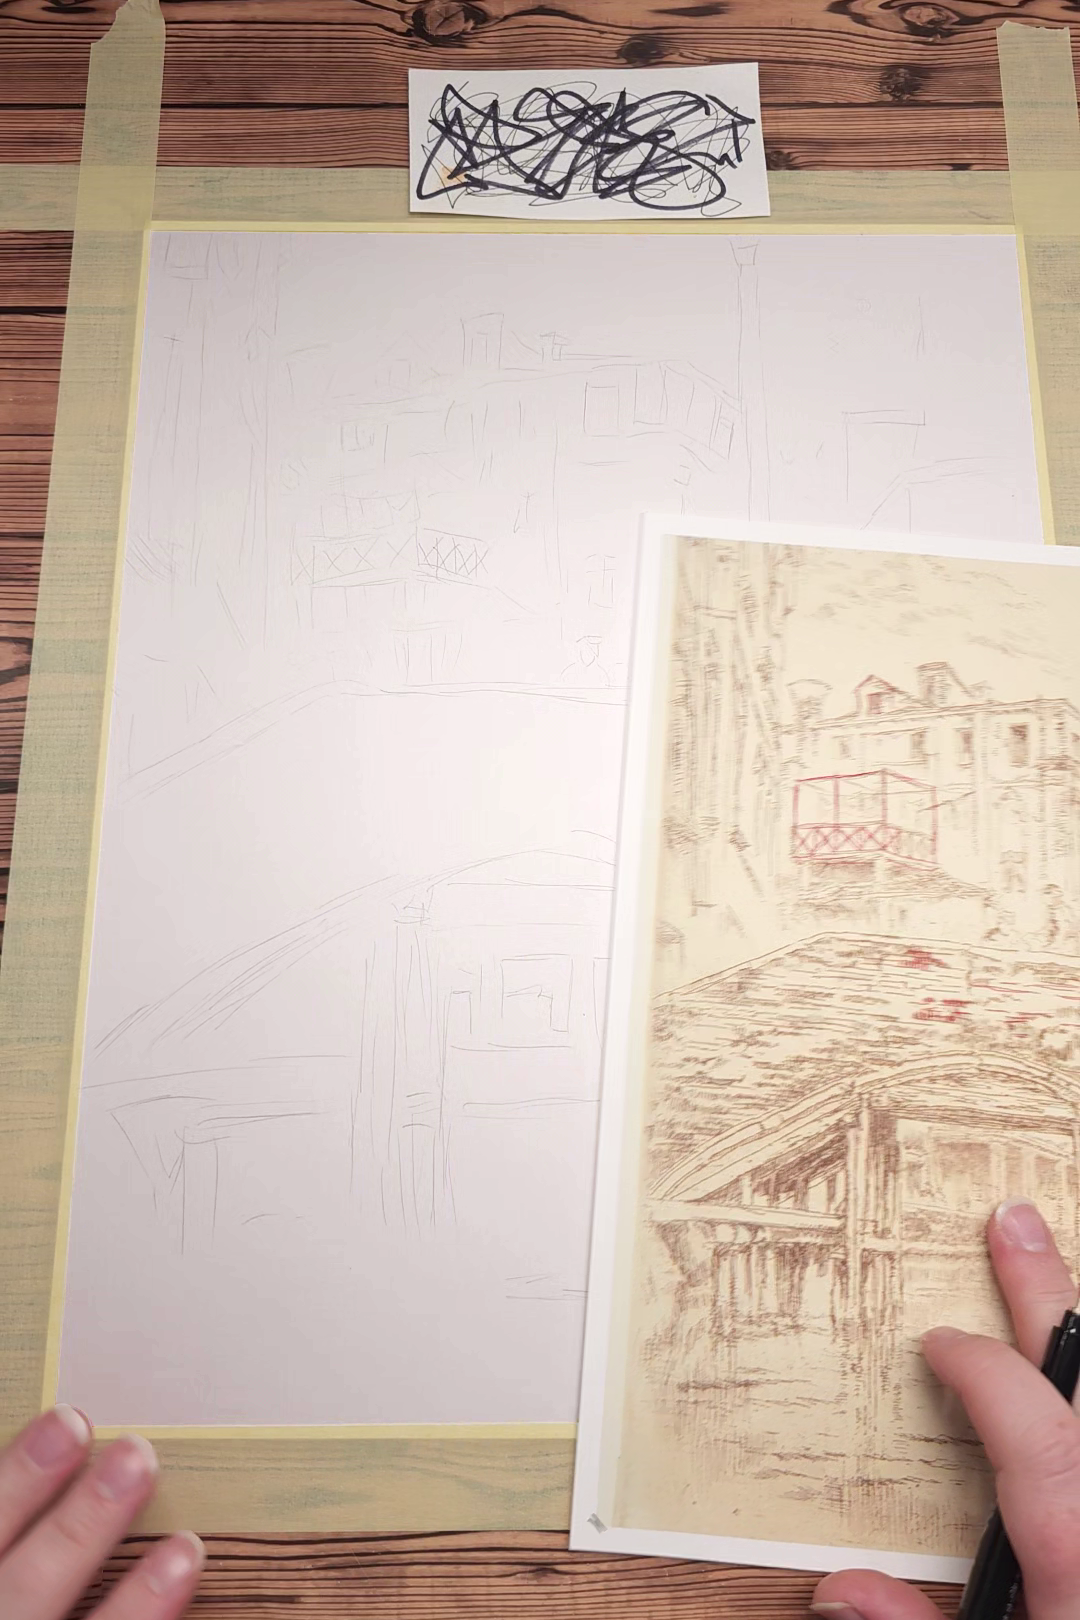
Da Vinci Eye’s AR Mode is well suited for an initial sketch. With the original image anchored, we can easily sketch rough outlines. In this step, it’s helpful to move quickly, focusing on how the elements of the piece work together, rather than starting with the finer points.

Da Vinci Eye AR Mode - Overhead view  Da Vinci Eye AR Drawing App - Whistler Study (rough outlines)

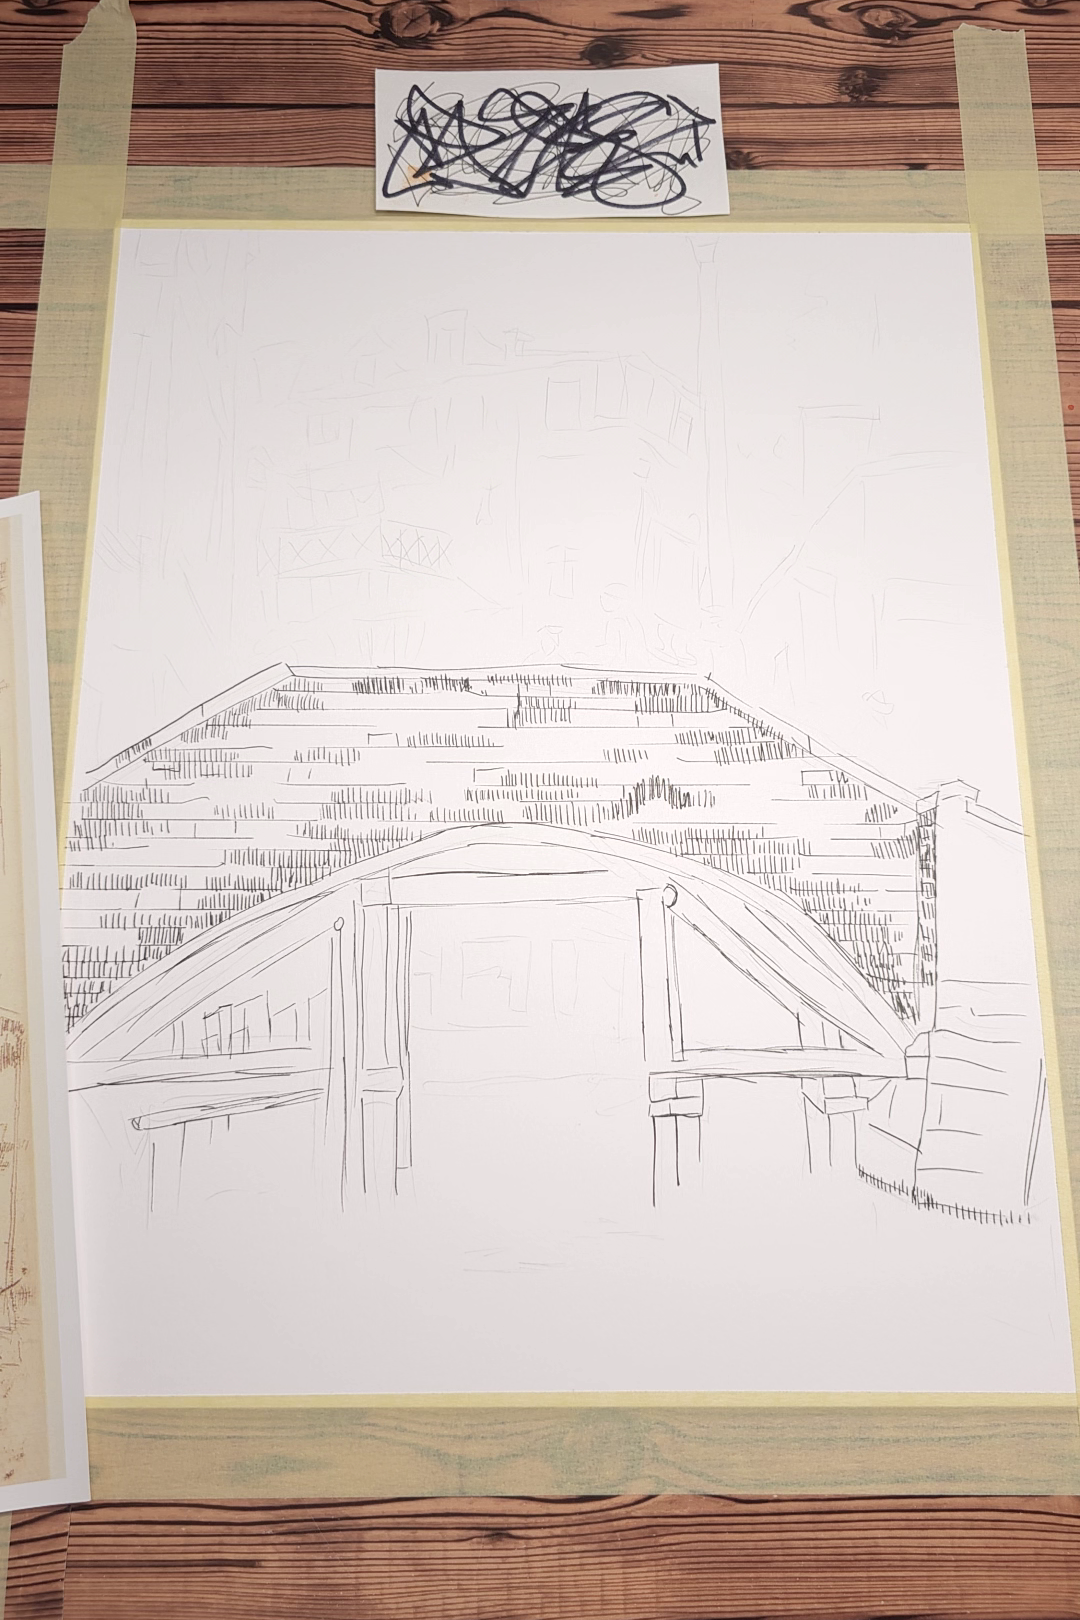
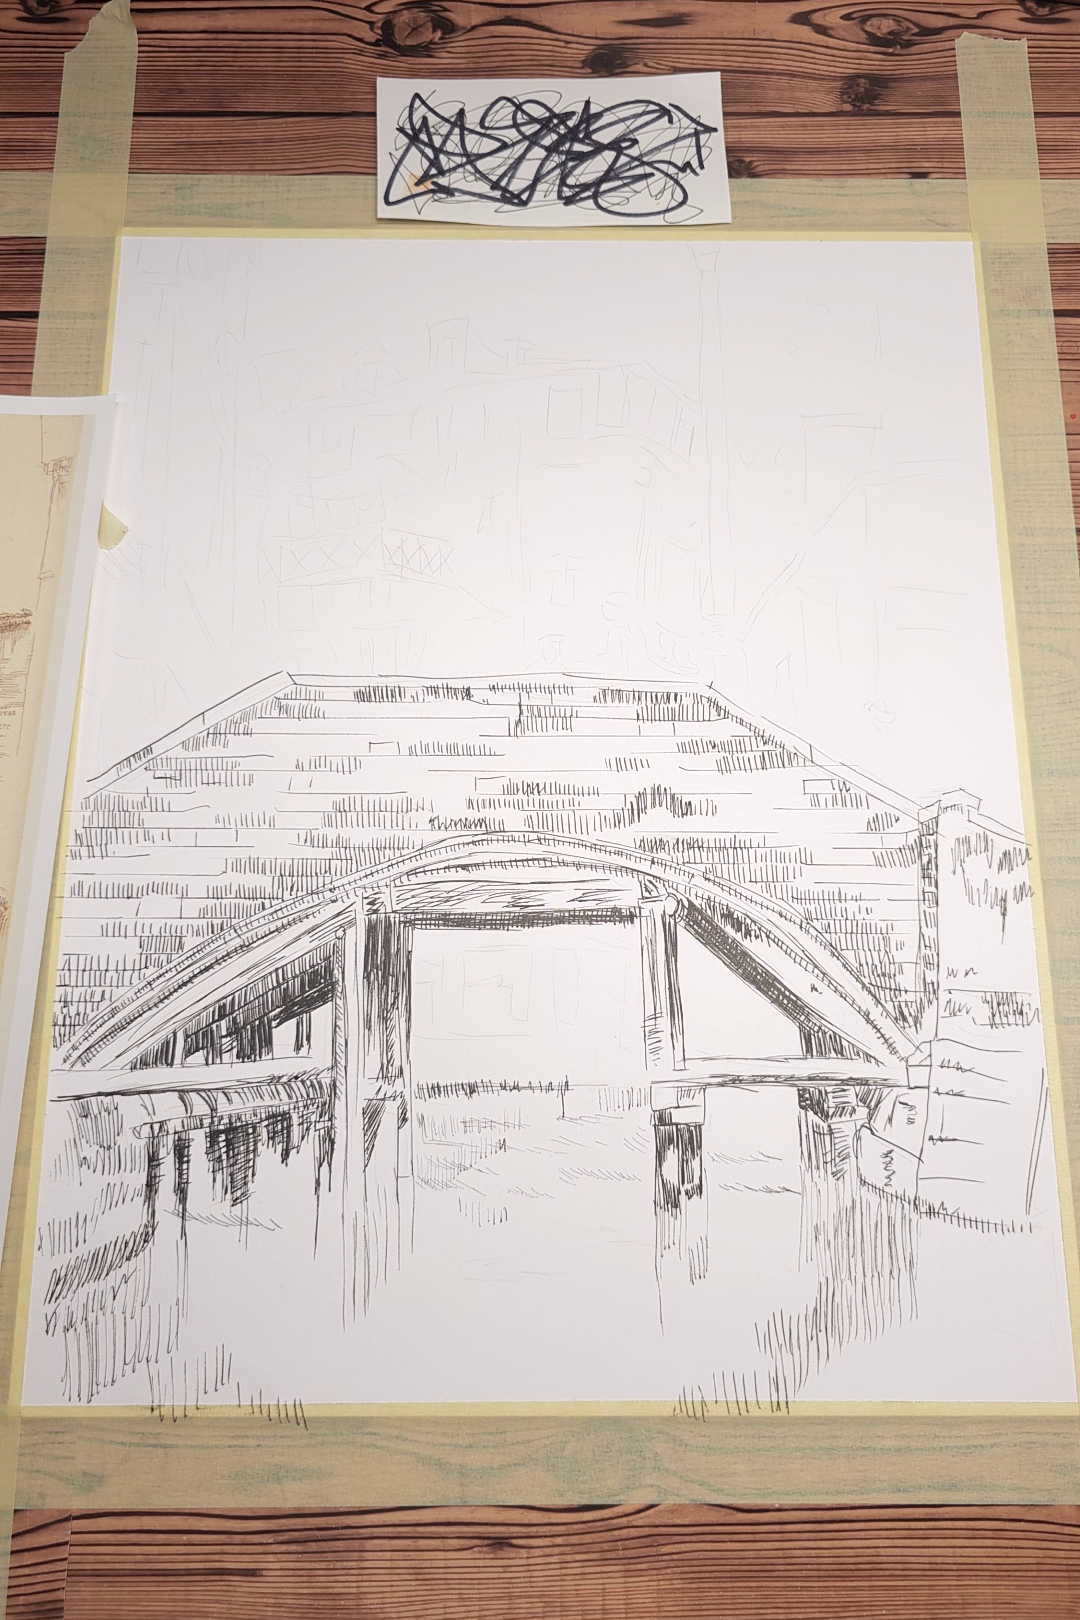
With these sketched guidelines, we move to inking, using the original as a reference for shading and technique. In particular, it’s helpful to pay attention to texture, stroke weight, and line direction in Whistler’s sketches. Within those features, we can discover how he captured what he witnessed, bringing the scene into cross-hatched reality.

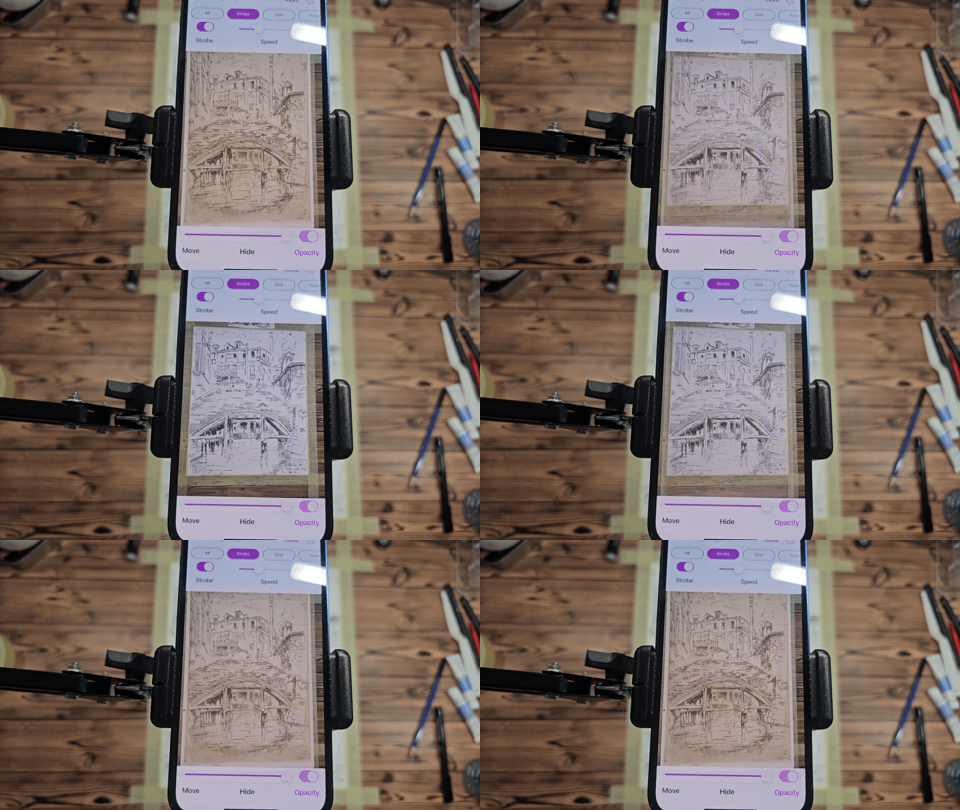
Da Vinci Eye AR Drawing - Whistler Study (Hatching 1)  Da Vinci Eye AR Drawing - Whistler Study (Hatching 2)  Da Vinci Eye AR Drawing - Whistler Study (Hatching 3; side-by-side)

Curves, cross-hatching, and contours combine into a city scene centered on a bridge spanning a canal, signs of human activity scattered throughout the image. All of this is conveyed in monotone, summed up through short and simple lines. In copying this work, Ponte del Piovan (1879-80), one might be struck by the contrasts of light and shadow, the minimalist approach Whistler takes to certain elements, or the way he can keep the details from blurring together despite the lack of color. And finally, using the Da Vinci Eye app’s AR Strobe feature, we can compare the original to the one-of-a-kind reproduction we’ve created, learning from similarities and differences alike.


This month, we invite you to consider how Whistler might have seen the world, practice the ways he captured his sights on paper, and learn to play with that vision on your own terms.

Tracing as a Creative Tool for Professional Artists

Did you know that this tracing is a creative tool used by professional artists to unlock their creativity? Give it a try! By nailing proportions from the get go, you can let your imagination run wild. This means that you can dive deep into the elements that make your artwork pop. Whether it’s the style, the colors, or even the shading.

This tracing app is called Da Vinci Eye: AR Art Projector and it’s available on both iOS and Android!

Finished drawing using Da Vinci Eye Augmented Reality Tracing App

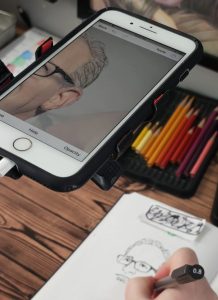
Drawing a portrait using Da Vinci Eye Augmented Reality Tracing App


Da Vinci Eye: Tracing App for Professional Artists and Beginners Alike:

How to Switch Between Mural Maker 1.0 to 2.0 Mode

We just launched a trial of our new Mural Maker 2.0 features! To use them please make sure both of your devices are up to date with the most current version on the App Store. To do this you can look up Mural Maker on the App Store with both devices, or just click the below link. If it says “Update” press update, otherwise you are good to go!

Mural Maker on the iOS App Store


Changing to 2.0 Mode or back to 1.0 Mode

In order to use 2.0 mode or switch back to 1.0 mode… You can do that at any time by going to the main screen of the app, pressing the menu button in the top left corner, and then pressing Try Mural Maker 2.0 or Use Mural Maker 1.0. You will know you are in the 2.0 mode because at the top of the screen it will have the Mural Maker M logo with a 2.0 next to it. See the Gif below!


Da Vinci Eye price for iOS- How much is da vinci eye

How much does the Da Vinci Eye app cost?

We get this question all the time, and for a frustrating reason sometimes Google results show the prices of a different app which is MUCH more expensive. We’re here to set the record straight, and hopefully with this extremely wordy article, Google will show accurate information.

So here is the correct pricing for the Da Vinci Eye app.

Da Vinci Eye pricing (iOS and Android)

Da Vinci Eye is free to download on both iOS and Android.

You can use the free version as long as you want. If you want full access to all features, there is an optional upgrade:

  • $29.99 per year for the full upgrade
  • $7.99 per month for the full upgrade

That pricing is the same on iPhone, iPad, and Android.

Download Da Vinci Eye

To download Da Vinci Eye for iOS, click here:

Da Vinci Eye for iPhone and iPad

To download Da Vinci Eye for Android, click here:

Da Vinci Eye on Google Play Store

Why does Da Vinci Eye cost money?

We charge a small fee because Da Vinci Eye is not a one time build and forget app. We are constantly:

  • Adding new features
  • Improving AR accuracy and performance
  • Creating tutorials and instructional videos
  • Keeping the app compatible with new iOS and Android updates
  • Staying compliant with Apple and Google security policies
  • Providing fast, human customer support

We are a very small team of just two people, and this pricing allows us to work on the app full time and keep making it better.

Is Da Vinci Eye free?

Da Vinci Eye is free to download on both iOS and Android, with the option to upgrade.
It is not a completely free app, but the free version lets you try it before committing to anything.

Is Da Vinci Eye a subscription?

Da Vinci Eye has a free version and an optional upgrade to unlock all of the features of the app which is a subscription.

You have options:

  • The $29.99 yearly plan works out to about $2.50 per month
  • The $7.99 monthly plan
  • Both plans give you full access without a yearly commitment

Either way, we try and keep it super affordable. The annual option is less than the cost of a cup of coffee per month!

Refunds and support

If you do not like the app for any reason, you can request a refund. For Android we have a no questions asked refund policy, we just need your order number. For iOS you must request the refund directly from Apple, usually they grant the refund if you request within 30 days. Just email us at
info@davincieye.com
and we will tell you exactly how to do it.

We pride ourselves on fast, real customer support, not bots.

Final answer

How much is Da Vinci Eye?
Da Vinci Eye is free to download on iOS and Android, with an optional upgrade costing
$29.99 per year or $7.99 per month for full access.

How to Make Even Larger Drawings using Da Vinci Eye

If you want to make larger artwork you can do that several different ways…

The most basic way is to press the “Move” button, select image, and enlarge your reference image relative to the size of your camera. This will make the image bigger on your paper.

Also, the app works like a traditional projector where the higher up you place your phone the bigger the image will be. You can place your phone higher above your paper by using a taller glass, shelf, box, or stand. You can draw very big like this, however if you place the phone too high it becomes impossible to draw because you can’t see the screen and reach the paper.

Here is a video of the Golden Canvas using making painting on a large canvas using classic mode:

If you are making artwork on a vertical surface like a canvas or wall you can follow the same approach using AR mode. The bigger you make your anchor the further away you can have your phone or tablet away from the surface. Again, though the problem is that the further away you have the phone the harder it is to draw and look at the screen at the same time.

You can also fill in smaller sections in a larger piece of artwork, for a lot of artists the app is used to place certain smaller elements on a larger canvas. You don’t always need to have the whole canvas captured with phone.

Expanding on the ideas above you can broadcast your phone’s screen to another monitor using Air Play, an Android screen mirroring app, or an hdmi cable so you can have your phone as far away from your drawing surface as you like and still be able to draw by looking at a different screen. This does require a little bit of extra setup but is very effective. Here is a quick video I made how to accomplish this.

Airplay / Screencast method:

We also just launched a new app called Mural Maker for iOS, that actually simplifies this process. You can check that out here:

The easiest way, and the way that I use, is that I just make my drawing in sections. Simply move the phone to where you want to draw on your paper. This way you can technically make drawings of any size! Check out this video:

This is a much more detailed video of how to above:

If you want clarification on any of these methods I would be happy to send more videos, set up a video call, or give you any other kind of instructions you would like.

Also, if the app is not working out for you we can let you know how to get a refund. We want you to be 100% satisfied with the app!


Augmented Reality Image Transfer App

Drawing in AR Mode

Before you start drawing in AR Mode, you will need to create an anchor.

In this case, the anchor is part of a playing card. An anchor literally anchors your digital image to the same position of an object in the real world. As long as the anchor stays in view of the camera, Da Vinci Eye will know where to place your digital reference image.

Augmented Reality Anchor For iOS Drawing App

To make an anchor press Tools, select the AR menu, press Anchors, and then + Make Anchor.

Now, press Take Picture. Here, you take a picture of your anchor.

Next, crop the image so it’s just the anchor. You don’t want the surrounding area visible.

Finally, you need to enter the approximate height and width of your anchor. Da Vinci Eye will automatically calculate the second dimension. If you input the width, it will automatically calculate the height. You can also change the unit of measure from inches to centimeters.

Now, if your anchor is in view of your camera, your reference image will be a superimposed relative to its position.

When you are drawing, it’s a good idea to tape the anchor in place. That way it doesn’t move around. You can hold your phone in your hand while you draw, however, this is very difficult and not recommended.

We do highly recommend suspending your phone above or in front of whatever it is you’re drawing on. For example, you can place your phone on top of a tall glass. If your phone doesn’t have a case, it may slide around. To stop the phone from moving around, just place two cut rubber bands on top of the glass.

You can also buy or make a stand. This is a cheap microphone boom stand and a cell phone holder attachment. With this setup, you can easily draw using an easel. You can check out these two products in the Product section of the app.

You may notice the phone’s camera going in and out of focus. It is set to auto-focus by default. Once your anchor and drawing surface are in focus, you can turn off auto-focus by pressing Tools > AR > Focus Lock. This will turn off auto-focus.

To position your reference image on the paper. You should pinch the screen to bring the full camera feed into view. Then press the Move button to move your image relative to the anchor. You can enlarge, shrink and rotate the image.

Make sure to unpress the Move button when you are finished. This locks the reference image in place.

You can now move and zoom the camera without moving the reference image. Press the Opacity button to adjust the transparency of the reference image. To make the image more transparent, move the slider to the left; to make it more opaque, slide it to the right.

You can also stylize images by using Filters, or break down images into layers by color value by using the Breakdown feature. You can learn more about filters and the breakdown feature by going to the Learn section of the app.

Now it’s time to start drawing!

First, trace the important parts of your reference image. Don’t forget, you can zoom in and out without disrupting your drawing to get the fine details, then add the finishing touches by adjusting the opacity all the way up and using the Strobe feature to compare the reference image to your final drawing.

To learn more about individual features, try completing the challenges on the home screen, and also check out the Learn section of the Da Vinci Eye app.

As always, if you have any questions about AR Mode, feel free to contact us at info@davincieye.com or by using the email button at the bottom of the home screen.

—

You can also check out our video on how to get started with AR Mode below, or subscribe here for more tutorials.

Camera lucida Camera Obscura app Da Vinci Eye Projector

Strobe Tool Tutorial

To start off with, we’re going to use an image with a lot of shadows in it.

Art Projector App Video Tutorial

We’re going to magnify an image a little bit for this tutorial.

Art Projector App Tutorial

Using Da Vinci Eye, it’s really easy to put lines down on your paper that match where things should be in your drawing. But if you’ve ever tried to shade your drawing or use it to reference where shadow should go, that becomes a lot more difficult.You end up not being able to tell the difference between what’s the reference image and what you’ve shaded. You also can’t tell how dark or light you shaded something in, in comparison to their references.

To fix this, we use the Strobe tool. The strobe tool fades the image in an out, and this lets you see the difference in the shadows.

The goal when you are drawing in this mode is to try and get what you are drawing to look indistinguishable from the reference picture. So when the image fades in and out, you should stop being able to see a difference.

You can use the speed slider to make the image fade slower, or you can make it fade faster, whatever works the best for you.

And that is how to use the strobe feature to make realistic drawings with Da Vinci Eye!

If you haven’t already, check out the app! It’s available on iOS and on Android. If you have any questions whatsoever, please reach out via email. You can use the email button in the app or directly at sam@davincieyeapp.com.

And as always, if you make something cool, please tag us. We would love to see it. We’re on all the social medias: Instagram, TikTok, Facebook, Twitter. Find us, follow us, and tag us. We’re at @DaVinciEye or @DaVinciEyeApp, and we’ll even repost your work.

One more thing… Make sure that you have your notifications turned on or subscribe to us on YouTube, so that way you can get notified for when the next lesson drops.

Never stopped creating, guys!

—

Strobe Tutorial Video: