Female Artists Who Transformed Art and Continue to Inspire on International Women’s Day
For International Women’s Day, let’s shed light on the trailblazing women who have transformed the world of art through their vision, talent, and resilience. Women have had to battle for recognition in the art world for centuries. Despite these challenges, many have not only broken through societal barriers but reshaped the way we perceive art itself.
Suzanne Valadon, Frida Kahlo, Yayoi Kusama, and Alma Thomas are shining examples of female artists whose revolutionary work continues to inspire generations. Their stories remind us of the importance of elevating women’s voices in the creative world.
Suzanne Valadon’s Fight Against Traditional Roles in Art
Suzanne Valadon (1865–1938) was one of the earliest women in France to achieve success as a professional painter. Beginning her career as an artist’s model for the likes of Renoir and Toulouse-Lautrec, Valadon defied expectations by becoming a painter herself.
Valadon’s art challenged the male-dominated standards of beauty. She portrayed women in a raw, authentic manner, emphasizing their humanity instead of idealizing their forms. Her strong, expressive lines and bold color choices conveyed a deep emotional complexity rarely seen in her era.
Through her work, Valadon paved the way for female artists to take control of their artistic narratives and depictions of femininity.
Frida Kahlo Expressing Identity and Resilience
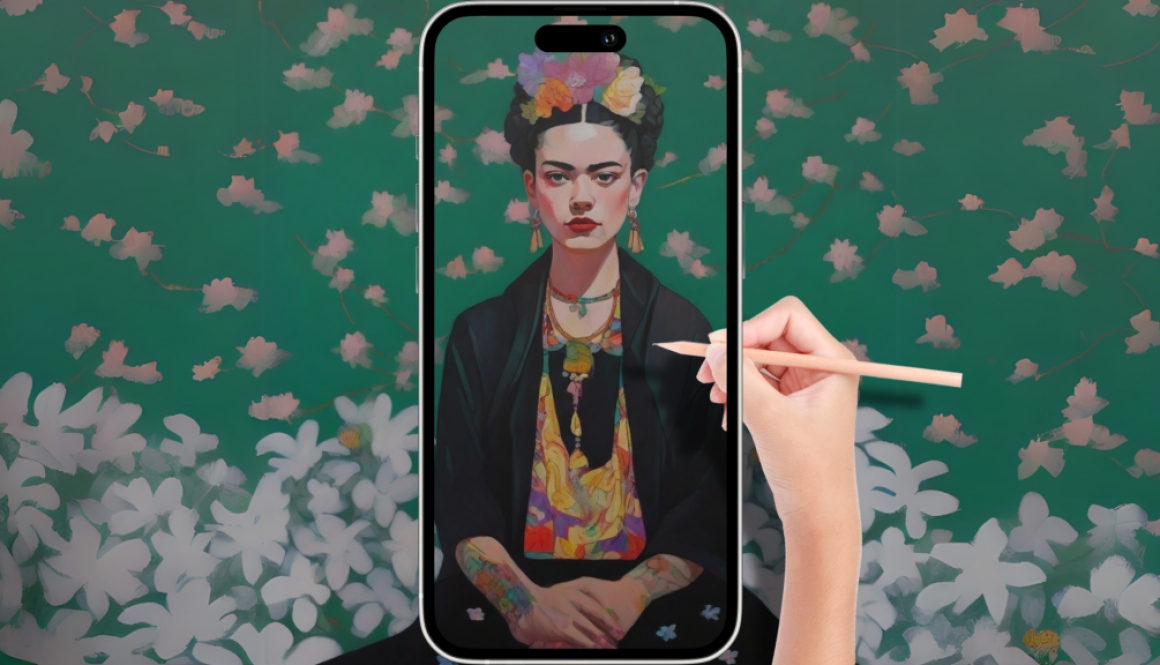
Frida Kahlo (1907–1954) remains one of the most iconic artists of the 20th century. Known for her powerful self-portraits, Kahlo used her art to explore themes of identity, pain, trauma, and resilience.
Drawing from her Mexican heritage, Kahlo’s work combined surrealism with deeply personal symbolism. Her paintings often depicted her physical suffering, relationships, and complex views on gender and politics.
Kahlo redefined art as a tool for self-expression and storytelling. Today, her legacy continues to inspire women to use art as a means of empowerment and introspection.
Yayoi Kusama Redefining Art with Infinity and Repetition
Born in 1929, Japanese artist Yayoi Kusama transformed the art world with her bold, avant-garde installations and obsessive use of patterns. Her signature polka dots, mirrored rooms, and immersive environments explore themes of infinity, mental health, and self-obliteration.
Kusama’s work invites viewers into surreal, dreamlike worlds where repetition and color create a sense of boundlessness. By challenging the boundaries of painting, performance, and installation art, she redefined how contemporary art can interact with its audience.
Her innovative approach continues to attract millions of visitors worldwide to her Infinity Rooms and exhibitions.
Alma Thomas Spreading Joy Through Color and Abstract Art
Alma Thomas (1891–1978) overcame racial and gender barriers to become a leading figure in abstract expressionism. Known for her bright, mosaic-like paintings, Thomas drew inspiration from nature, light, and space exploration. Her art was a celebration of life, joy, and discovery.
In a time when abstract art was often seen as intellectual and austere, Thomas’s work introduced a sense of warmth and optimism. She became the first African-American woman to hold a solo exhibition at the Whitney Museum, a landmark achievement that opened doors for greater representation of women and people of color in the art world.
How These Women Transformed Art in Their Own Way
These four women, despite their vastly different backgrounds and styles, shared a common goal of challenging artistic conventions:
- Exploring Identity and Personal Stories
Frida Kahlo and Yayoi Kusama both used art to explore deeply personal experiences. Kahlo’s self-portraits were filled with symbolic representations of her physical and emotional struggles, while Kusama’s installations reflected her battle with mental health and her desire to merge with the universe.
- Reframing Depictions of Women
Suzanne Valadon and Frida Kahlo challenged the male-dominated portrayal of women in art. Valadon painted women as they were, rejecting romanticized ideals. Kahlo portrayed herself with raw emotion, embracing vulnerability and strength simultaneously.
- Harnessing the Power of Color and Pattern
Alma Thomas and Yayoi Kusama both made color and repetition central to their work. Thomas’s joyful paintings were inspired by natural beauty and space, while Kusama’s polka dots represented endless repetition and interconnectedness in the universe.
- Drawing from Cultural Identity
Frida Kahlo celebrated Mexican culture in her art, while Alma Thomas reflected her African-American heritage and experiences. Kusama’s work, although rooted in Japanese traditions, also embraced the global avant-garde movement of the 20th century.
These differences in style and subject matter highlight the rich diversity of women’s contributions to art across generations and cultures.
The Lasting Impact of Women’s Contributions to Art
By breaking free from societal constraints, Suzanne Valadon, Frida Kahlo, Yayoi Kusama, and Alma Thomas paved the way for future generations of female artists. Their work continues to inspire millions, offering powerful representations of strength, resilience, and creativity.
As we celebrate International Women’s Day, we honor these artists and the many others who have shaped the history of art. Let’s continue to uplift women in the arts, recognizing their stories and contributions as essential to the world’s cultural heritage.

