Strobe Tool Tutorial
To start off with, we’re going to use an image with a lot of shadows in it.

We’re going to magnify an image a little bit for this tutorial.

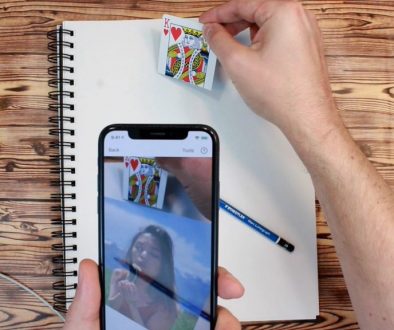
Using Da Vinci Eye, it’s really easy to put lines down on your paper that match where things should be in your drawing. But if you’ve ever tried to shade your drawing or use it to reference where shadow should go, that becomes a lot more difficult.You end up not being able to tell the difference between what’s the reference image and what you’ve shaded. You also can’t tell how dark or light you shaded something in, in comparison to their references.
To fix this, we use the Strobe tool. The strobe tool fades the image in an out, and this lets you see the difference in the shadows.


The goal when you are drawing in this mode is to try and get what you are drawing to look indistinguishable from the reference picture. So when the image fades in and out, you should stop being able to see a difference.


You can use the speed slider to make the image fade slower, or you can make it fade faster, whatever works the best for you.

And that is how to use the strobe feature to make realistic drawings with Da Vinci Eye!
If you haven’t already, check out the app! It’s available on iOS and on Android. If you have any questions whatsoever, please reach out via email. You can use the email button in the app or directly at sam@davincieyeapp.com.
And as always, if you make something cool, please tag us. We would love to see it. We’re on all the social medias: Instagram, TikTok, Facebook, Twitter. Find us, follow us, and tag us. We’re at @DaVinciEye or @DaVinciEyeApp, and we’ll even repost your work.
One more thing… Make sure that you have your notifications turned on or subscribe to us on YouTube, so that way you can get notified for when the next lesson drops.
Never stopped creating, guys!
—
Strobe Tutorial Video:

