How to Draw an Owl
Hey guys! It’s Sean – I’m an artist-instructor with Da Vinci Eye. Today we’re going to learn how to draw an owl perched on a tree branch.
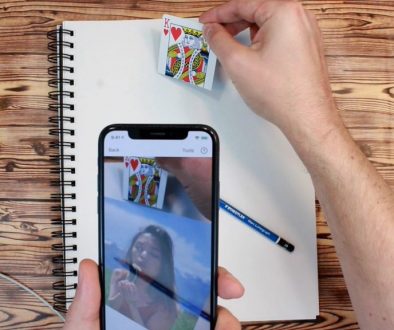
I’ll be drawing this on my tablet for you to easily see, but feel free to use a pencil and paper. You can also follow along with this tutorial step-by-step using Da Vinci Eye App for iOS and Android. The app lets you trace along with my drawing to help become more comfortable and understand exactly what I do.
So let’s do this! Remember to start out light. So using little pressure with a pencil, draw two circles for the face:

And a curved rectangle for the body:

Now I’m going to jump right in and start shaping the face out.

I add a carrot looking shape right in the middle for the beak and two wide eyes.

Remember the owl’s eyes don’t actually move. So make sure the pupils are always in the middle.
Now I’m going in and adding details for feathers:

Then texturing around the eyes:

As well as two short tufts for the ears:

Moving to the body, we need to give our owl a big wing.

I always like to pattern my wings, so go ahead and add your own feather coloration.

I decided for the chest of my owl to be a much whiter color and indicated this by only lightly penciling in feathers in a downward direction.

The talons are added to curve around our tree branch, but you can also stick them under your owl.

Lastly, I’m going in to add detail to the branch and give the owl some tail feathers in the back.

Don’t forget to sign your art! You did a great job.
If you want to find more of my artwork, follow me on Instagram at @Phoenix.Animations. Be sure to check out the Da Vinci Eye app, as well as subscribe here for more tutorials.
You can also watch the tutorial on how to draw an owl right here:
Have a great day, and we’ll see you next time.

